


Ten practical reasons to consider a pantry barn door
| Idea | How it helps | What to check |
|---|---|---|
| 1. Clear the swing area | Moves the door beside the opening instead of across the floor. | The sliding route still needs clear wall space. |
| 2. Cover open storage | A solid panel can screen shelves from view. | Check coverage at the sides and top. |
| 3. Share daylight | A glass panel can keep adjoining spaces visually connected. | Clear glass also keeps pantry contents visible. |
| 4. Add a writing surface | A chalkboard can hold a menu or shopping list. | Write only while the door is still, and keep supplies out of its path. |
| 5. Repeat a cabinet color | A painted panel can tie the pantry into the kitchen. | Review a physical sample with the cabinets. |
| 6. Bring in wood grain | A wood face can relate to flooring or a nearby table. | Compare the finish in the room’s actual lighting. |
| 7. Add a simple grid | A glass-and-metal pattern can echo nearby windows. | Choose compatible glass, frame and hardware. |
| 8. Divide a wider opening | Two panels can suit a broad pantry entrance. | Choose bi-parting or bypass based on access and wall space. |
| 9. Keep the inside wall useful | A surface slider can avoid an inward swing over shelves. | Check the guide, pull and shelving at the opening. |
| 10. Coordinate the hardware | The rail and handle can repeat another metal finish. | Match the full assembly, not color alone. |
These are design opportunities, not a promise that every pantry will accept a sliding door. Confirm the layout before removing the current door or ordering a panel.
Three pantry door styles to start with
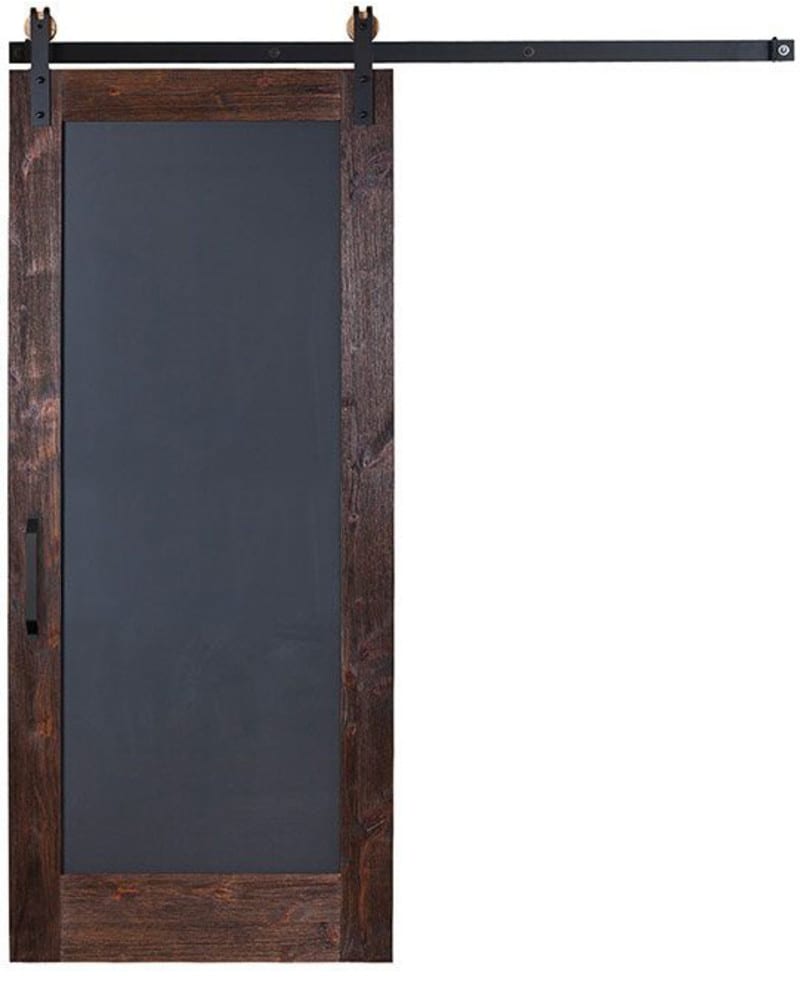
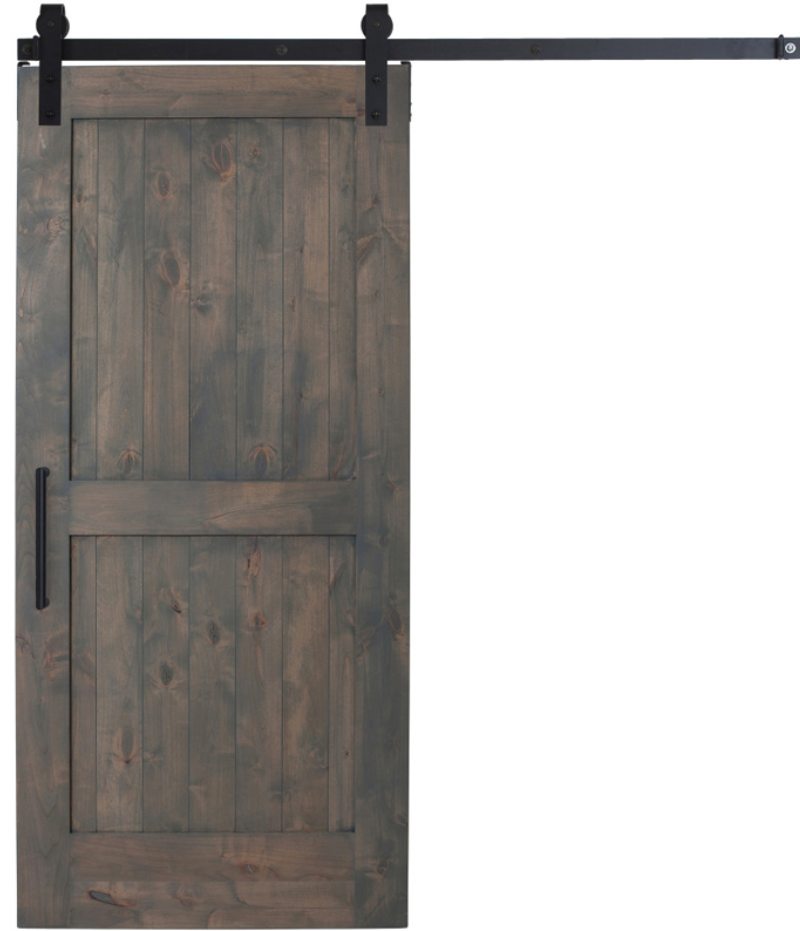
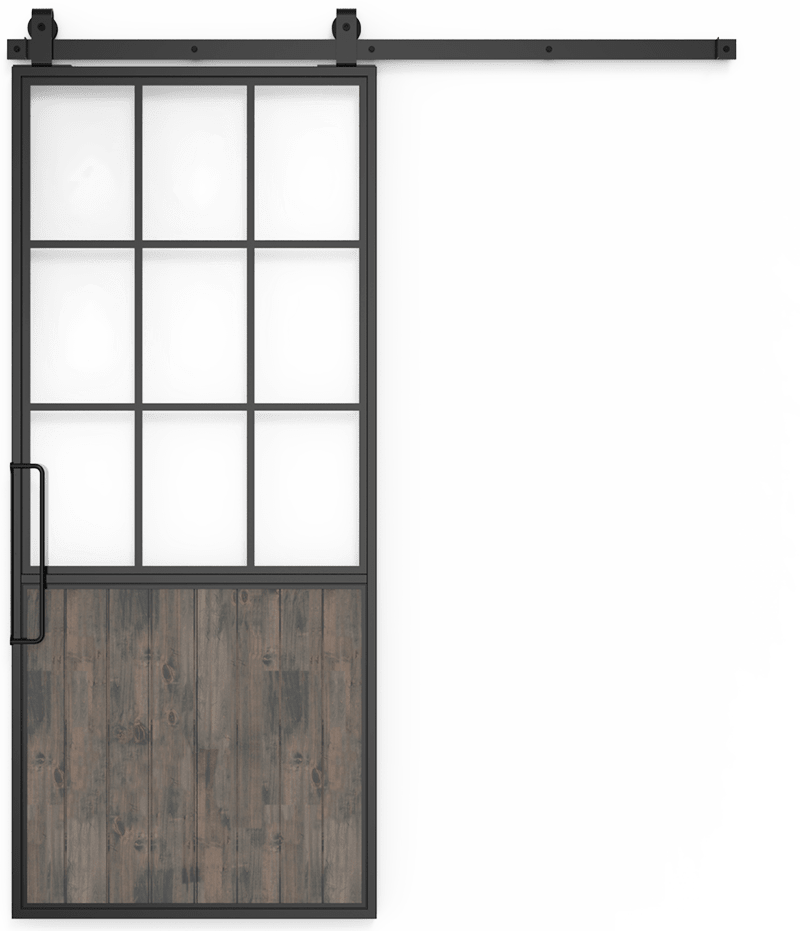
For more designs across the kitchen, browse our kitchen barn door ideas. For the current buying options, explore barn doors for a pantry and confirm the exact available configuration.
Measure the route, not just the opening
| Record | Include in the check |
|---|---|
| Opening width and height | The finished opening and surrounding casing. |
| Required coverage | The side and top overlap in the selected layout. |
| Panel parking area | Clear wall space with the door fully open. |
| Hardware headroom | The selected rail and hanger requirements. |
| Projecting objects | Baseboard, switches, pulls, trim and nearby cabinetry. |
| Usable access | The passage remaining after stops, pulls and panels are in place. |
The barn door track measuring guide explains what to bring to the installer. Check the complete route after the stop positions are included.
Check the kitchen with the door open
Open the refrigerator, dishwasher and nearby cabinet doors. Pull out the pantry drawers or baskets you use most. Then mark where the barn door and its handle will sit. A clear doorway is not much help if the parked panel blocks the switch or traps a cabinet handle behind it.
For a walk-in pantry, check the route while carrying groceries or a large countertop appliance. For a shallow pantry, make sure each shelf section can be reached. A sliding door changes access; it does not fix a shelf layout by itself.
Choose single, bi-parting or bypass movement
| Layout | Where the panels go | Tradeoff |
|---|---|---|
| Single sliding panel | Beside the opening on one side. | Needs a suitable parking area in that direction. |
| Bi-parting pair | Away from the center toward both sides. | Needs suitable wall space on both sides. |
| Bypass panels | Past one another in parallel planes. | Stacked panels may continue to cover part of the opening. |
| Bifold panels | Fold into a smaller stack. | The stack projects into the room and reduces some clear space. |
Compare a pantry door in another style if the sliding route does not work. A pair of doors does not automatically solve a lack of wall space.
Choose how much of the pantry stays visible
A solid panel makes a simple visual boundary. Clear glass puts shelves and their contents on display. Textured glass sits between those choices, depending on the pattern and lighting. Review the glass from the kitchen at normal viewing distances before choosing.
A wall-mounted barn door has working gaps around it. It is not an airtight way to control pantry temperature, cooking odors or humidity. If the room has special storage or equipment requirements, have those requirements addressed separately.
Finish the installation plan before hanging the door
Use the selected product instructions alongside the barn door installation guide. Confirm structural support for the rail, the full panel weight, mounting clearances and the position of the floor guide.
Stops, anti-jump components and guides each have a job. Follow the kit’s installation sequence and keep every required part. If adding soft close, confirm compatibility with the exact track and panel weight before ordering it.
After installation, move the door slowly through its full travel. Recheck shelf access and the nearby appliances, then make sure the panel stays guided and clears nearby cabinets, trim and hardware.
Planning a client project?
Designing a kitchen or pantry for a client? Include the door travel on the cabinet plan before finalizing the order. Rustica’s contractor discount program explains professional eligibility and how to apply.



