1.800.891.8312
800-891-8312
FREE SHIPPING*
Free Shipping Details
Most orders over $500 qualify. Free shipping applies to Barn Door Hardware, Barn Doors, and Pocket Doors over $500.
Note: Front doors, interior doors, shower doors, any oversized door (wider than 3ft and taller than 7ft) and any special order doors have shipping costs calculated at checkout. Some barn door hardware track lengths do not qualify for free shipping.


How to Finish Knotty Alder Doors
Tuesday, June 8th, 2021
Author: Kate Allen - Rustica Founder and CEO
Share
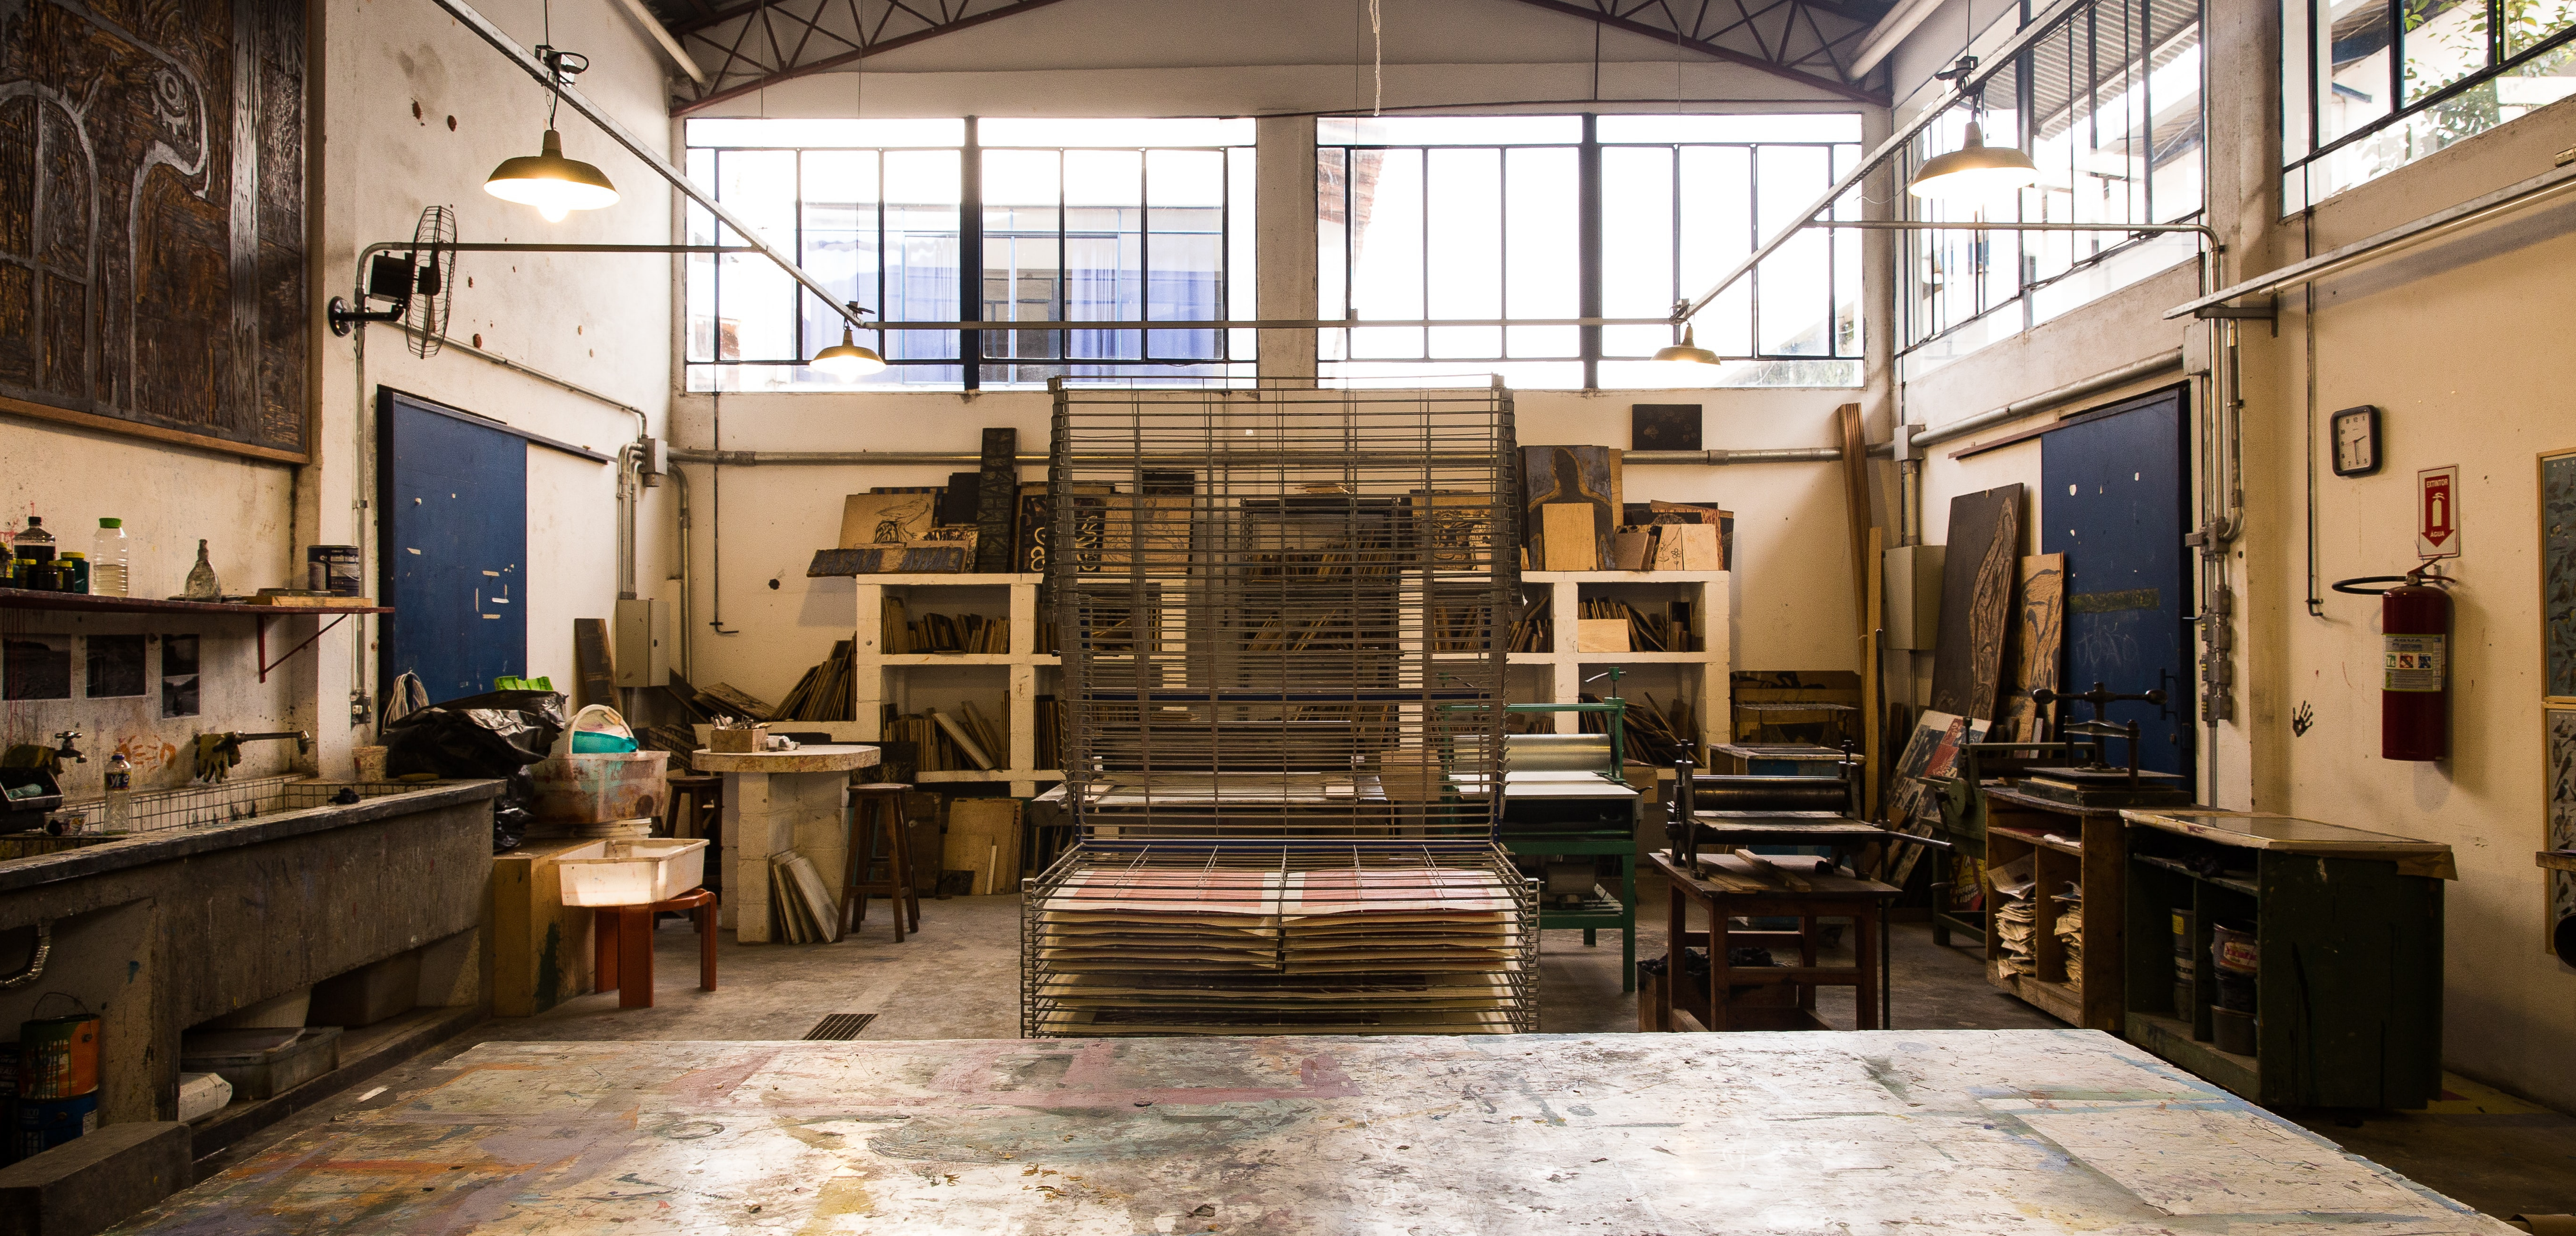
Knotty Alder doors are known for their pronounced grain, unique appearance, decorative knots, and ability to contribute a rustic, outdoorsy feel to any room where they are installed. These doors are ideal for interior areas so that they are protected from the weather. Even inside, however, these doors could and should be finished for maximum beauty. To finish one, you’ll need to:
To prepare for the job of finishing an alder wood door, all your materials should be gathered and available in one place. The last thing you want is to find yourself unable to complete a step because you need to run to the store for supplies. Whether you’re working alone or with a partner, the supplies you need are the same. This also applies to exterior wood doors.
Sawhorses–Sawhorses are a-frame structures that form the support base when sawing logs or painting long, flat objects. In this case, you’ll use the sawhorses to support your door and keep it elevated while working on it.
Drop Cloth or Tarp—No matter where you’re working on this project, you’ll want a drop cloth or a large tarp to lay down on the ground to catch spills, splashes, and debris. You’ll need to place a second drop cloth or tarp over the sawhorses so that your door doesn’t get scratched while working on it.
Sandpaper—You’ll need to sand the door down, so quality sandpaper is vital. 320 and 400 grit sandpaper are perfect for this project.
Clean Cotton Rags—Cotton rags will be used for cleaning the door at various stages. Make sure the cotton rags are clean and free of debris. You want to avoid scratching your door or rubbing any foreign material into the surface.
Varnish—Varnish is what you’ll be brushing onto your door. Choose a color that works well with the paint and décor scheme in your home.
Stain—You can also choose to stain the door to give it a deeper hue. If you decide to stain it, then be sure to read up on how to stain a wood door before you get started.
Brush—You’ll need a three to four-inch brush for applying varnish.
Painter’s Tape—If your door has glass panes, use blue painter’s tape to tape the glass and prevent varnish from potentially causing damage.
Shop-Vac—This is optional, but having a shop vac is a fast and easy way to remove the dust and sanding debris from your door. You can remove it with a rag and a hand broom, but a shop vac will make your life much easier.
Goggles and Mask—Safety should always come first when you’re doing a DIY project. Sanding may not sound like a dangerous pastime, but bits of wood dust and debris can get into your eyes if you’re not careful. Dust particles can also get into your lungs and aggravate lung problems such as asthma. These two items are essential to ensure you’re completely safe no matter what project you’re working on.
Before you start working on your slab door, you need to get your workspace ready. This means setting up two sawhorses with a drop cloth or tarp underneath, and a second drop cloth or tarp on top.
Next, place your door so it rests across both sawhorses. Make sure the door is stable and doesn’t wobble. The last thing you want is for your door to fall when you’re in the middle of varnishing it.
It’s also important to make sure you’re in a well-ventilated area so you don’t inhale varnish fumes while working. Ensure plenty of space around the door so movement isn’t impeded.
If you have glass panes on your door, this is also the time to tape them to protect them from dust and varnish.
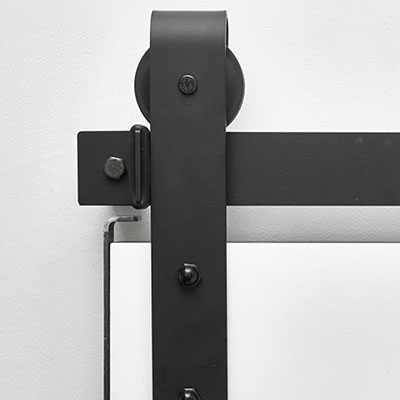
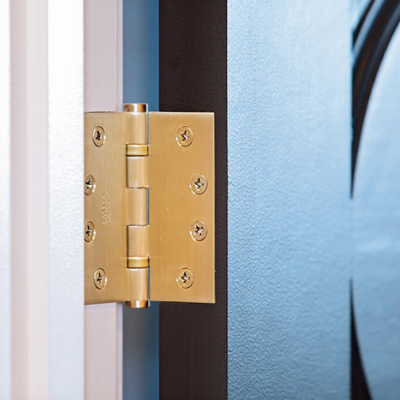
If the door you’re finishing has any hardware on it, now is the time to take it off. Remove hinges, doorknobs, and locks. Keep these pieces in a secure location with all the nuts, bolts, and screws, so you can replace them when your door is ready to be rehung on the door frame in your house.
Don’t skip this step thinking you can sand and varnish around the hardware. Doing so will make your job more difficult and will result in a less-than-professional-looking finished product.
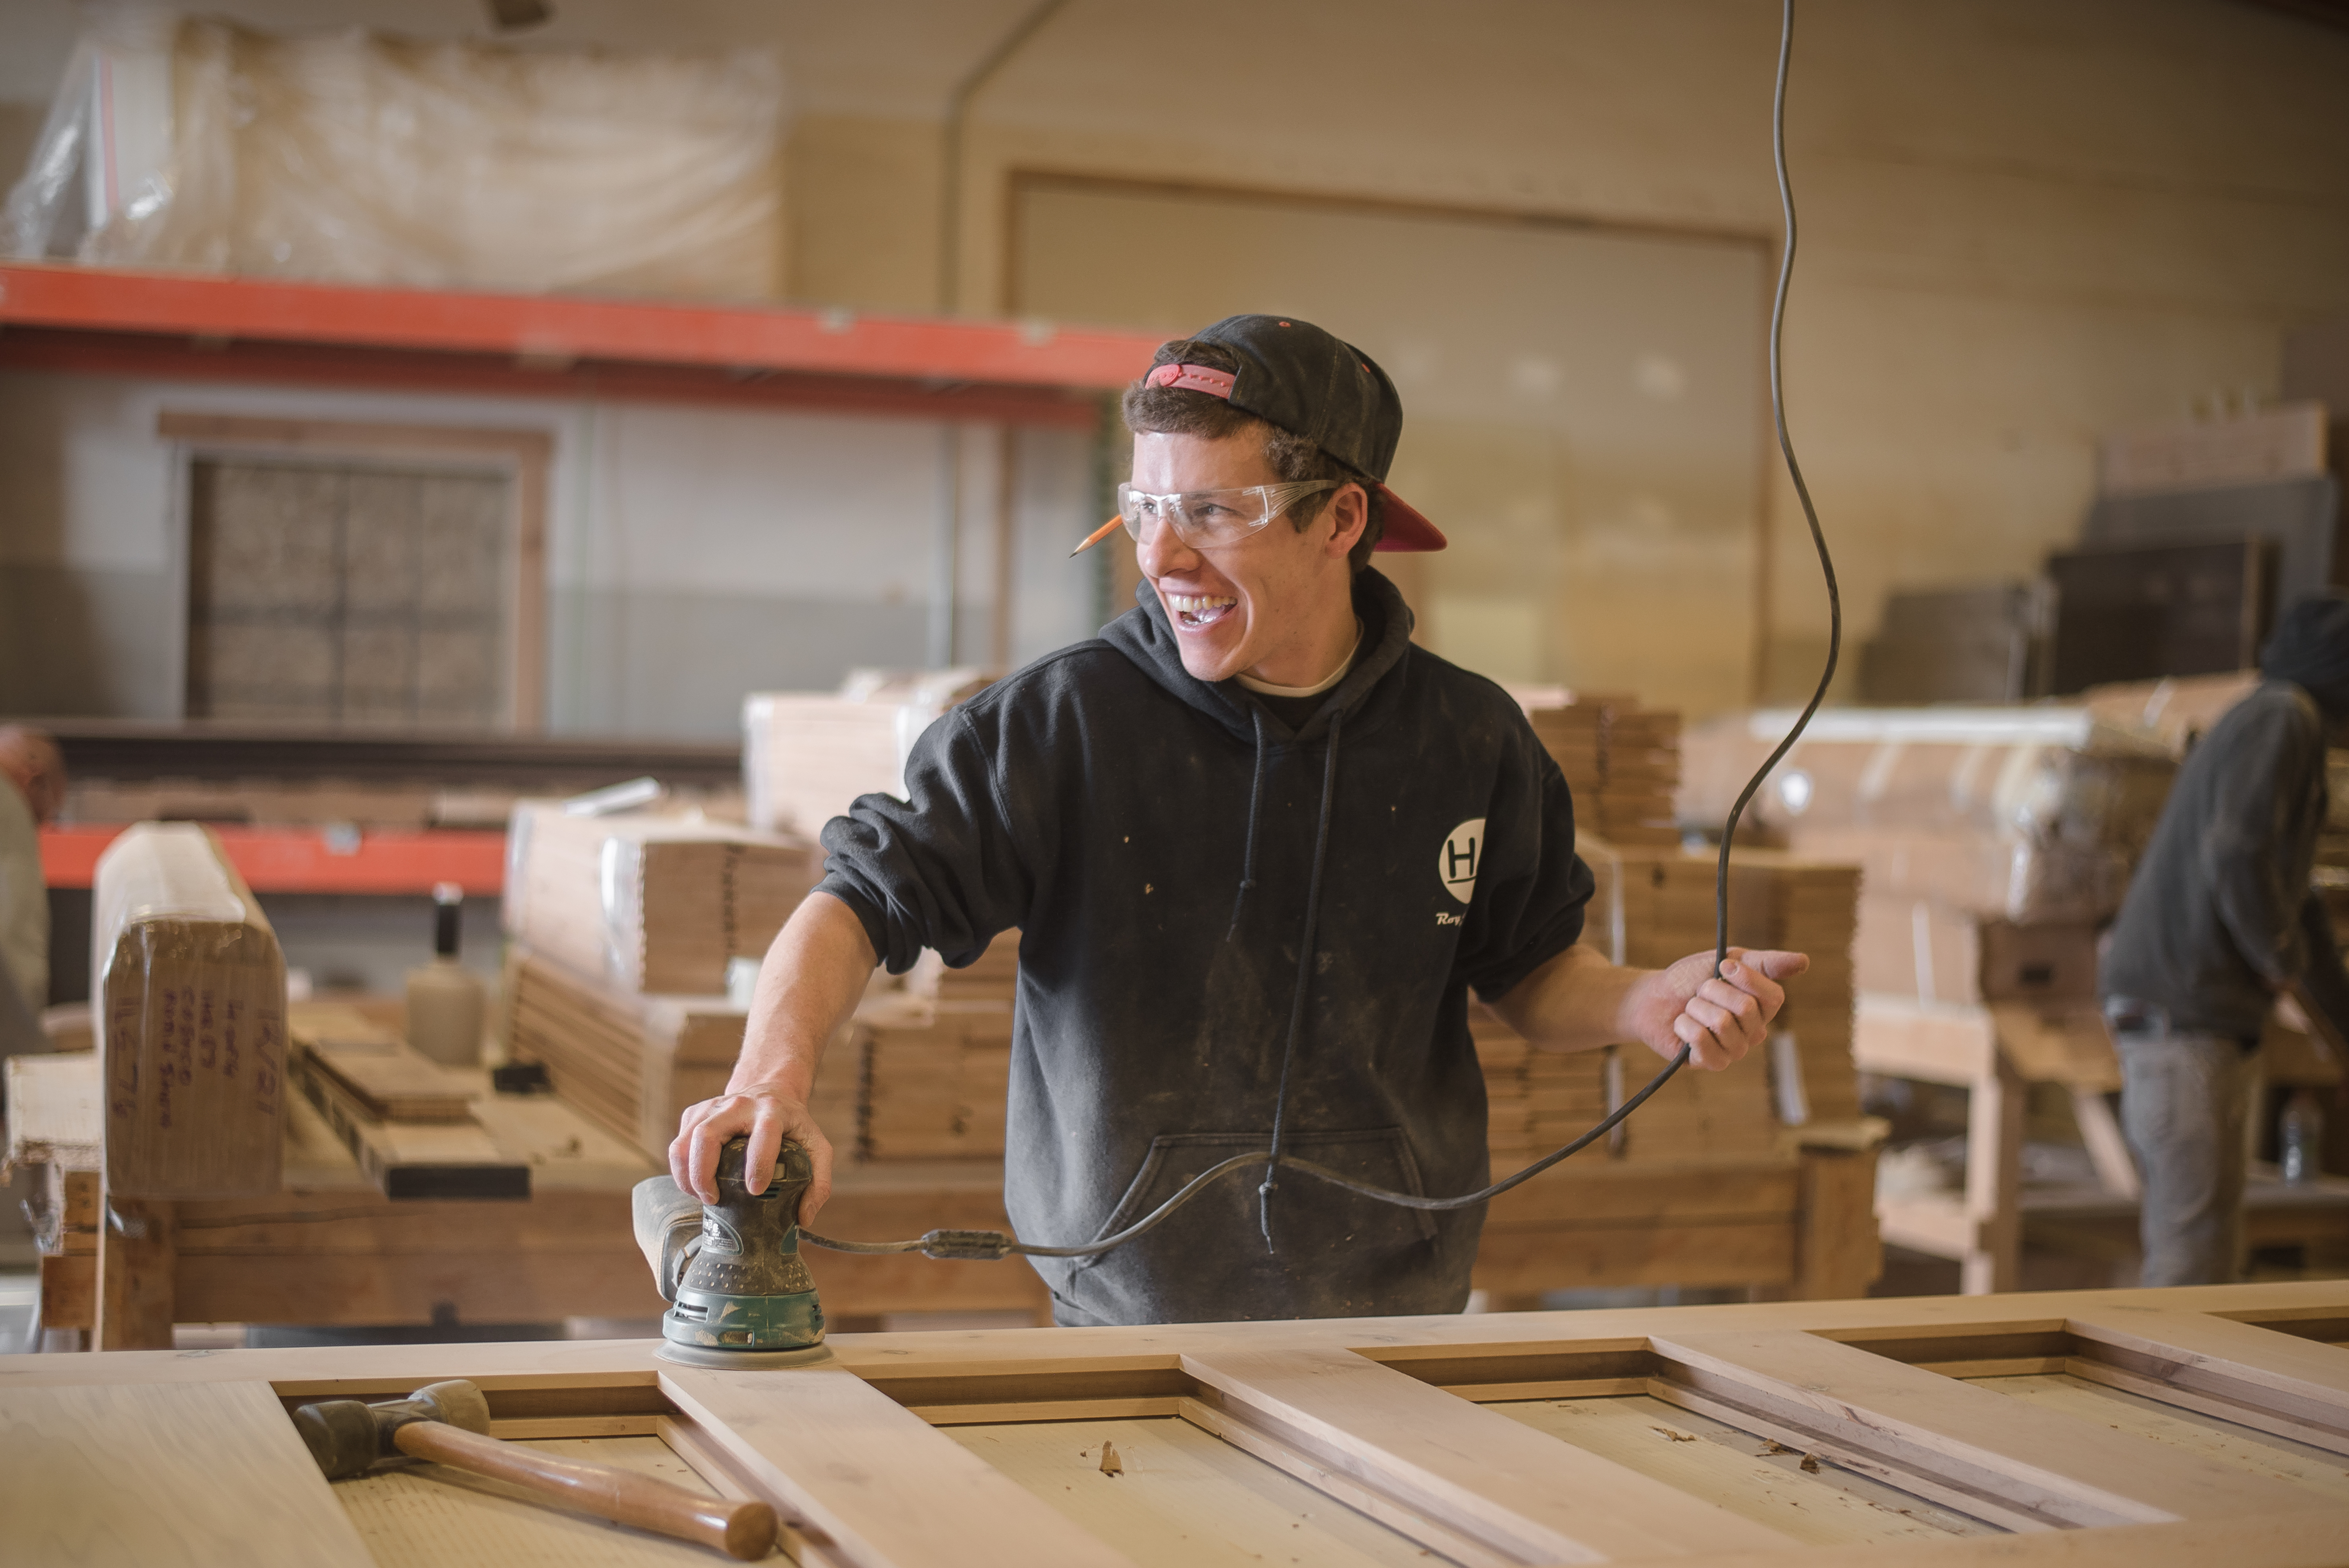
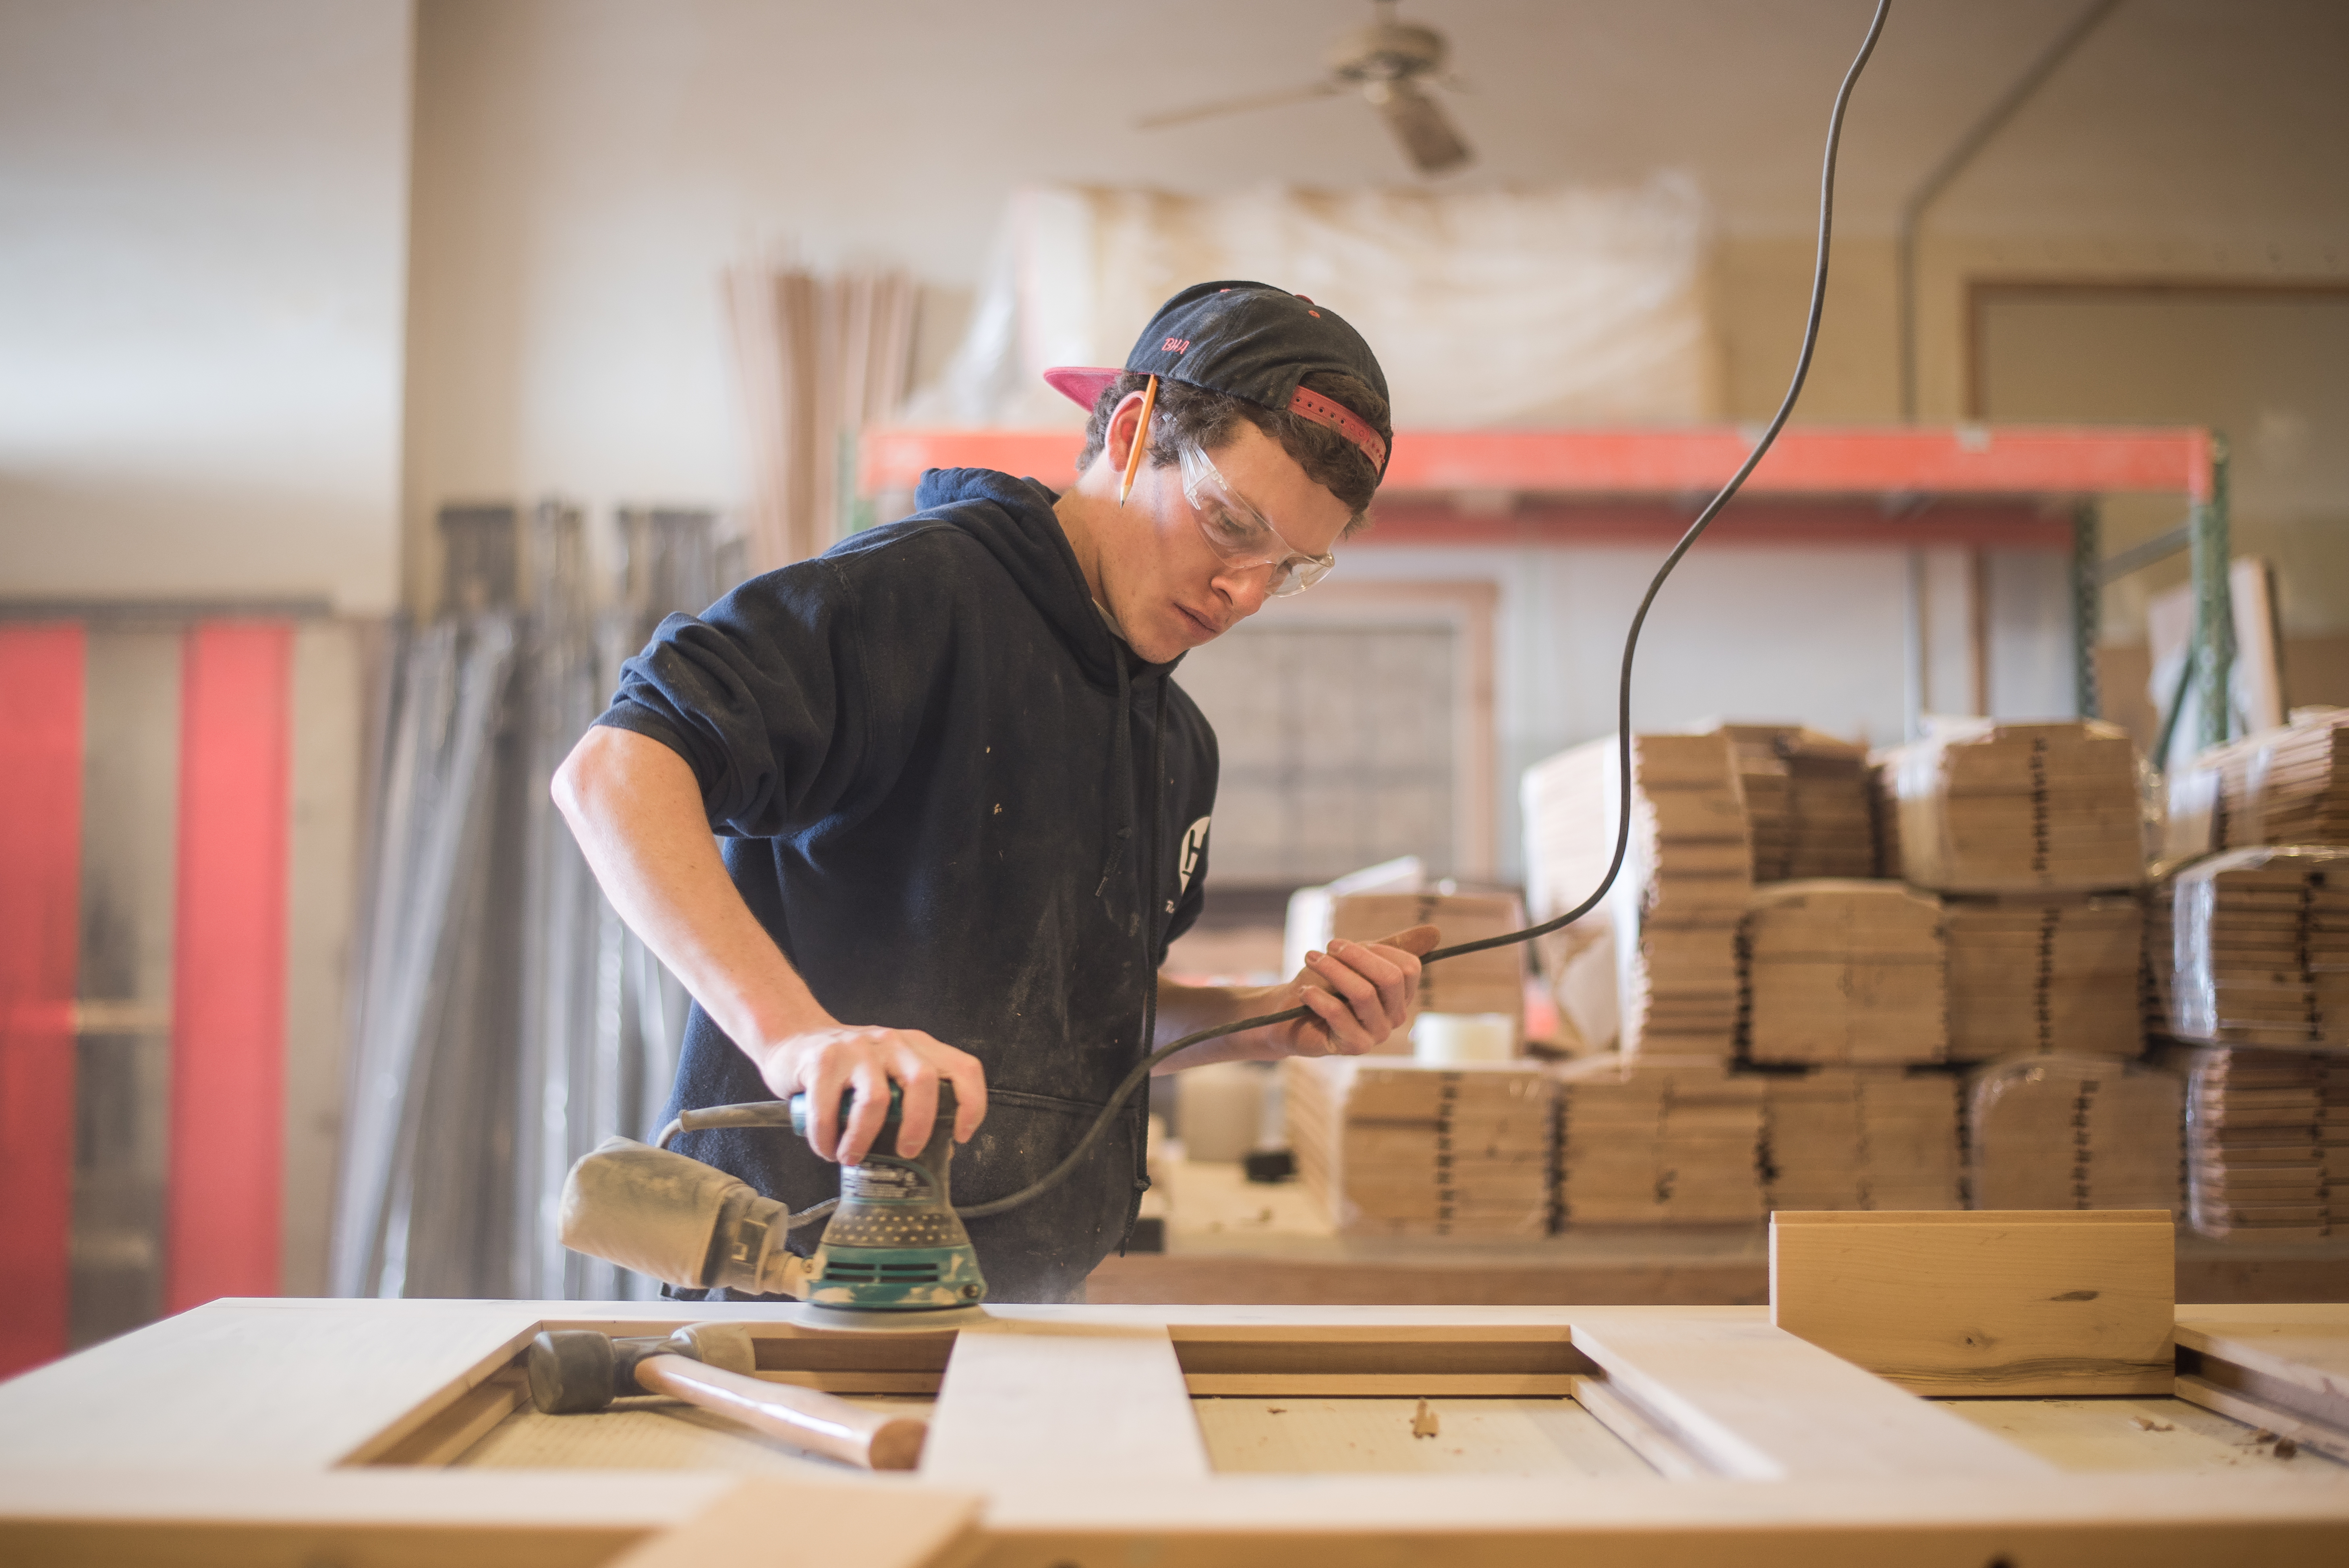
This is where the fun begins. With your workstation set up and your door slab prepped and ready, you can roll up your sleeves and get your hands dirty. This is also where you should put your goggles and mask on to make seeing and breathing easier.
Using your 320-grit sandpaper, lightly sand all the surfaces of your door. You don’t have to sand it until it’s as smooth as glass, but you do want to knock down rough edges, splintered wood, and sharp edges. Sanding down these problem areas will ensure your varnish goes on smoothly and evenly.
Sanding, if done incorrectly, can leave unsightly sanding marks. To avoid this, be sure to sand in the direction of the grain. Go in sections and pay attention to which direction the grain is going. Start with the horizontal sections of your door then, when finished, move on to the vertical sections. By sanding in the direction of the grain, you’ll produce a smooth surface that isn’t marked up and scratched.
Lightly go over any areas that are raised, decorated, or edged, such as the area around a raised panel. You want to make sure that the entire door is sanded – even the decorative areas.
Once you’re finished with one side of the door, sand down the sides, top, and bottom. Then flip the door over and sand the other side. Repeat the same pattern and work one section of the door at a time. Sand in the direction of the grain for each section.
Going section-by-section may take a little extra time, but it’s well worth it than trying to cut corners by sanding horizontal and vertical sections at once.
This is where your rags, hand broom, and shop-vac come in handy. After you’ve finished sanding your door, you’ll need to clear away the dust particles left behind.
If you’re using a hand broom, take the broom and brush the whole surface of the door. After knocking all the dust off, take a clean cotton rag and lightly dampen it. Wipe it over the surface of the door to pick up any dust particles that you couldn’t brush off.
If using a shop-vac, use a brush attachment to go over the entire door and suck the dust up. If the door has decorative edging and molding, use a brush attachment followed by a regular nozzle to get into the crevices. Finally, take a lightly dampened rag and wipe down the door to ensure the surface is dust-free.
Your rag should just be slightly damp for this step. You might need several clean rags to wipe down the surface of the door and remove any remaining dust particles. After wiping the door down, allow the surface to dry completely before moving to the next step.
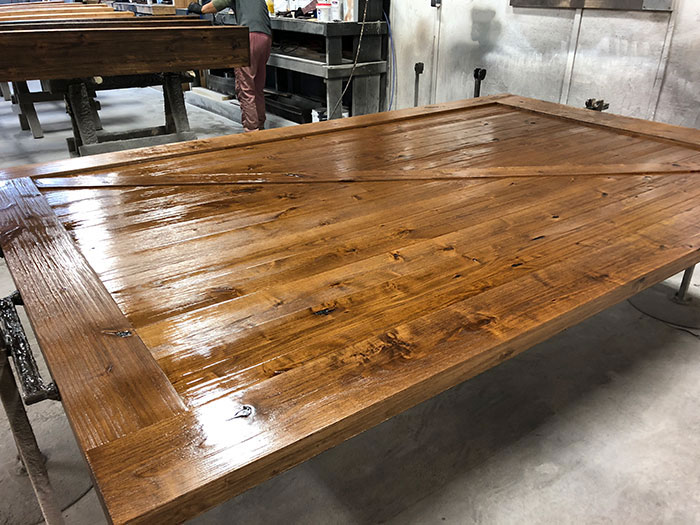
This is the time when your door starts to take shape. The varnish you apply will not only seal the wood and protect the door, but it can boost the natural beauty of the knotty alder wood as well. Knotty alder wood pairs well with many varnishes and stain choices.
If you want to keep the color of your door natural, then choose a clear stain to protect the wood and allow its natural variations in color to shine through. If you’re matching a particular color scheme with your home, choose a varnish that pairs well with your decor colors, such as walnut or cherry.
Applying varnish should be done one side at a time and, similarly to sanding, one part of the door at a time. Brush in the direction of the grain, starting with horizontal pieces and continuing to the vertical pieces. Use different size brushes to apply varnish to detailed areas, like decoration pieces molding. Make sure to get the top, bottom, and sides of your door at the same time.
Once you’ve finished one side of your door, you’ll want to let it dry completely before switching to the other side of your door. Drying time varies but usually takes anywhere from six to 10 hours. It’s best to leave it overnight to ensure the door is completely dry.
After you’ve finished one side and you’ve let it dry completely, flip the door over and repeat the process on the other side. Let the second side dry completely, then move on to the next step.
At this point, you’re halfway there and you already know what to do to finish the project off. Take your 400-grit sandpaper this time and lightly sand the dry varnish. All you’re trying to do here is even out the varnish you applied, so don’t sand too much or you’ll end up taking it off.
You should have a fine sheen of white dust when you’re finished sanding. The dust is dried varnish. Brush it off with your hand broom, then wipe any remaining dust off with a rag. Use the shop-vac if you opted to go that route with a brush attachment to remove the debris from the door. A rag afterward will help remove any remaining dust the shop-vac didn’t suck up.
Now, apply another layer of varnish and repeat the same process—brushing varnish onto the door in sections. Apply a second layer to the sides, top, and bottom, and then wait for the door to dry before flipping it over and repeating this process on the opposite side for a second coat. Once you’ve completed the second coat of varnish, repeat a light sanding process (once the door is completely dried).
After you’ve sanded the door and cleared away all the dust, apply one final coat of varnish to the front and back of the door, being sure to give it enough time for the varnish to dry in between coats. Three coats of varnish should be plenty to provide protection from regular use inside the house for your knotty alder door.
Once you’re finished applying varnish and the door is dry, you can place the hardware back on the door. Finally, hang it up, stand back, and admire your handiwork!
How to Finish Knotty Alder Doors
- Gather Materials
- Set Up the Workspace
- Remove Hardware
- Sand the Door
- Clean the Door
- Apply Varnish/Stain
- Repeat: Sand/Clean/Varnish
How to Finish Knotty Alder Doors
Step 1: Gather Materials
 |  |  |
Step 2: Set Up the Workspace
Before you start working on your slab door, you need to get your workspace ready. This means setting up two sawhorses with a drop cloth or tarp underneath, and a second drop cloth or tarp on top.
Step 3: Remove Hardware
 |  |  |
Step 4: Sand the Door
 |  |
Step 5: Clean the Door
 |  |
Step 6: Apply Varnish/Stain
Step 7: Repeat: Sand/Clean/Varnish
At this point, you’re halfway there and you already know what to do to finish the project off. Take your 400-grit sandpaper this time and lightly sand the dry varnish. All you’re trying to do here is even out the varnish you applied, so don’t sand too much or you’ll end up taking it off.
Can Knotty Alder be Painted?
 |


Rustica Shop & HQ 1060 Spring Creek PlaceSpringville Utah 84663Customer Service & Sales(800)-891-8312

Hitching Post
Event Venue
1520 N Main Street
Springville UT 84663

PRODUCTS
FEATURES
COMPANY
BUSINESS