Staining a door can give it a more striking and richer appearance, especially if its exterior surface has faded from weather, sun, or even just general aging. Alternatively, you might want to stain a new door that doesn’t match the existing wood grain of your home’s trim or furniture.
7 Steps to Stain a Door
- Choose your stain color
- Remove the door
- Sand the door surface
- Stain the door
- Wipe the door down
- Let your door air dry
- Rehang your stained door
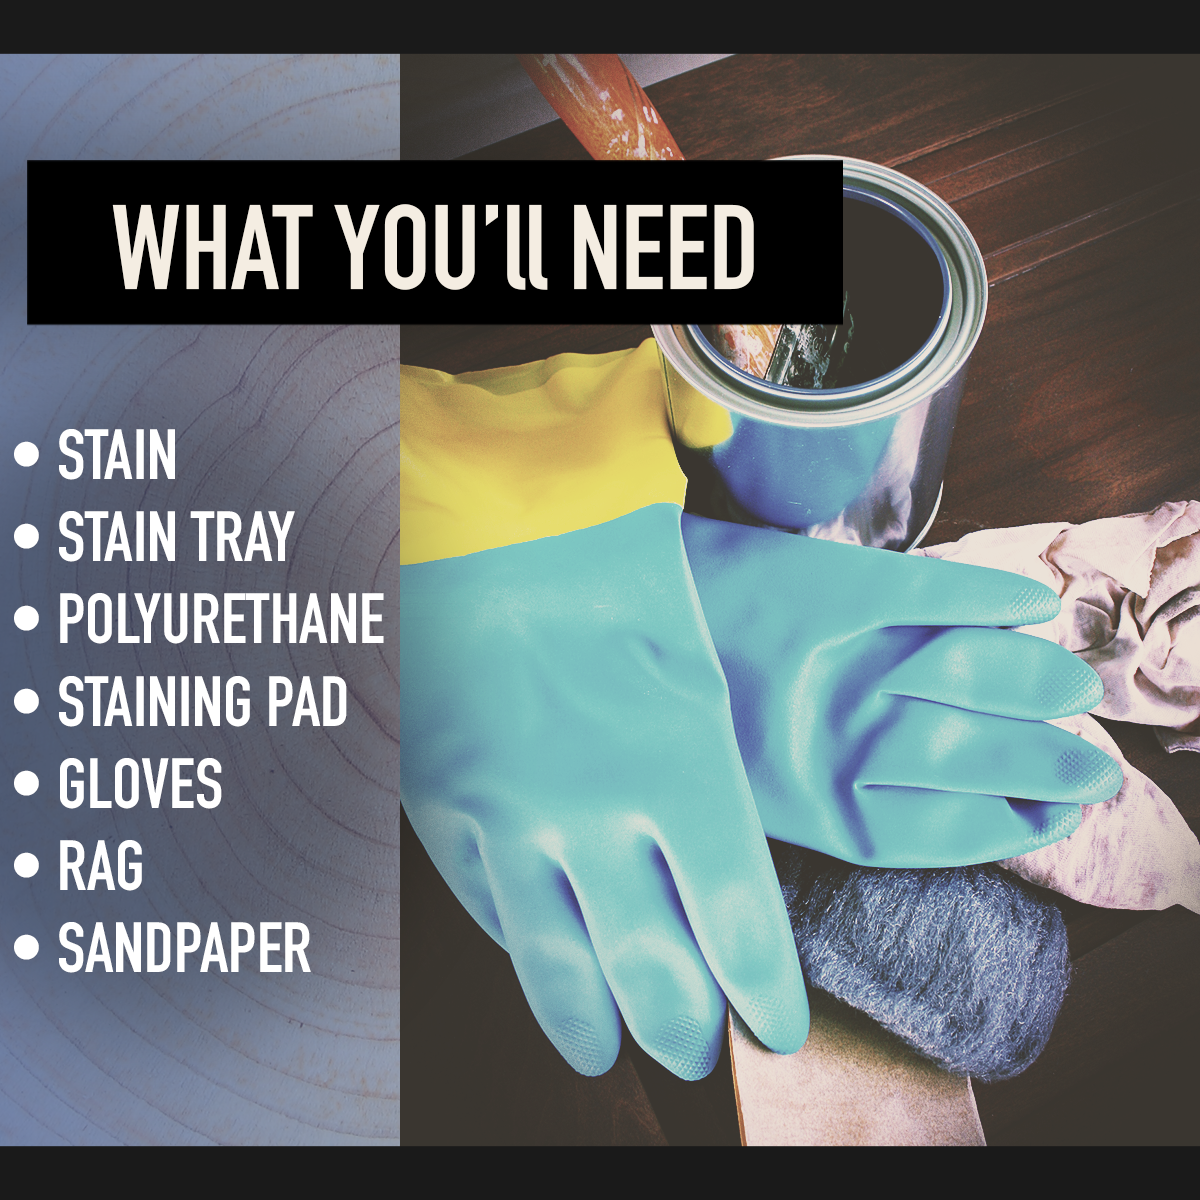
Staining a door is a very easy do-it-yourself project. Everything you need to stain the door can be found at a local home improvement store: a stain and gloss that you like, stain tray, pads, sponges, or a bristle brush, gloves, rags, and sandpaper. You might also want to have a large tarp to spread out on the floor. You can rest the door on the tarp and stain the door without leaving behind a mess. Choose a well-ventilated area for your project.
Once you’ve learned how to stain a wood door, you might want to stain or paint other doors around your home, like cabinet doors in the bathroom, drawer fronts, kitchen cabinets, or the garage door. But before you go through a garage door makeover or even the front exterior door of your home, you might want to build up your door staining skills on a wooden door inside your home. Experimenting with interior doors will give you a chance to get comfortable with the process of staining a wood door.
7 Steps to Stain a Door
1. Choose Your Stain Color
There are plenty of stain colors to choose from. In terms of traditional lumber materials, there is pine, oak, maple, cherry,
mahogany, and walnut. While your door may not be made from a particular kind of wood, you can pick a stain that’s modeled after one of these natural woods. Each one has a unique grain and coloration—but since stains are synthetic, there are a number of additional choices and iterations such as espresso, burgundy, and chocolate.
If possible, take a small piece of wood from your existing trim or furnishings to the hardware store, and they can use their computer database to match it with a comparable stain, and that way you can stain your door to match. This is a good reason to save extra samples or pieces if you ever have any carpentry work done on your home.
If you can’t bring in a piece of wood into the store, bring a picture of your trim, flooring, or furnishings to the store to help you pick out a few stain samples. Bring these samples home and select the one that you like best. Remember, you can stain your door to match the other wood in your home, or you can stain it to subtly contrast with your overall decor and make an interior design statement!
There are gel-based, oil-based, and water-based stains. Some stains, often called stain varnish, will have a polyurethane varnish mixed into the stain, which reduces the number of steps involved. However, some stains are just stains, and you will need to apply a layer of varnish after staining, such as the spar urethane produced by Minwax. This type of varnish is best suited for exterior doors that would be exposed to elements like sunlight. Varnish not only gives the door a shiny appearance, but it protects the stain from suffering weather damage.
2. Remove the Door
Whether your door is sliding or hinged, you’ll need to take it off the frame so you can get to work and stain it. If your doors are hinged, start by closing them. From the bottom, push out the hinge pin with a hammer and nail, by inserting the nail into the bottom of the hinge and lightly tapping it upward. Don’t use the hammer and nail to pull the hinge pins all the way out—just push them out of the hinge.
Once the pin is mostly out of the hinge, you can use a screwdriver to tap the underside of the pin’s head until it’s loose enough to remove with your bare hands. At this point, you can just open the door slightly and take it off the hinges. If the weight of the door makes it difficult to remove, you can wedge something like a crowbar under the door to take its weight off the hinges exclusively.
You will need the door to lie flat, so you’ll also need to remove anything that prevents it from doing so. This might include hinges on the door, knobs, handles, deadbolts, and, possibly even weather stripping.
If it's a
door with window, just make sure to cover the window with some paper and tape, so your stain does not get on the glass. It’s recommended that you use painter’s tape because masking tape might leave behind some sticky residue on the glass.
3. Sand the Door Surface
Now the door is off its hinges, it’s time to lay it down on the space you’ve prepared for staining. Make sure you’ve spread a tarp or tack cloth out to avoid staining anything you don’t want to stain. The door will need to be flat in order to sand and stain it in the best way possible. While a sander will reduce the amount of work necessary, you might find that sanding it by hand is fun.
Sanding the wood down will help even out its texture so that your coat of stain will be consistent. Your best bet is to use 120-grain sandpaper and sand in the direction of the wood grain. This is easy to find by seeing which direction the rays go; you will want to sand along with these rays, and not perpendicular to them. Don’t overdo the sanding part, because if the door is too smooth, it won’t hold the stain. To that end, you will most likely not want your sandpaper to go over 150-160 grains; fine grit sandpaper or steel wool might make the door too smooth.
Keeping your workspace clean might not seem important, especially if you want to rush on to staining the door. But keep in mind that if you don’t remove the sawdust from your workspace, it could get blown onto the wood, which will cause your staining job to be uneven—and possibly result in a bumpy texture if sawdust clings to the stain while it’s drying.
4. Stain the Door
Now it’s time for the main act. Use a flathead screwdriver to pry open the cans of stain. Pour the stain into a staining tray and apply it to the door with a pad or brush. When using pads or a brush, make sure that excess stain drips off before the application to the door.
Note however that, in some cases, you might want to use a pre-stain wood conditioner. This type of wood conditioner will help especially porous wood doors (like those made from pine) avoid absorbing the coat of stain unevenly as you are applying it. Staining doors that are of a softer, more porous variety of wood—and that have not been pre-treated—might leave you with a door that looks spotted or blotchy because the pores of the wood have absorbed the stain unevenly. Wood conditioner seals these pores so you can get an even, attractive stain.
No matter what type of stain you are using, stained wood of a porous of softer variety will not look good without a wood conditioner. If you aren’t sure about whether to use a pre-stain wood conditioner on your door or not, do a test in an inconspicuous area and view the results. While this will require an additional step on your end, applying the clear coat of such a conditioner will make the result of your door makeover efforts well worth it.
As you paint the stain onto the door, move with the direction of the wood grain once more. Start with a soft touch, and then go back over it with more pressure. If you choose to use a brush, you may want to go back over the stain to ensure that any brush strokes are blended in. If there is any drippage or runoff, wipe it up immediately with a rag to prevent an uneven look or streaking.
5. Wipe the Door Down
Once you’ve stained the door, and added varnish if needed, you’ll want to wipe it down with a lint-free rag. Wiping the door down after you stain and varnish will help by eliminating lingering streaks and drips, which can cause uneven and blotchy staining. Moreover, wiping it down will help speed up the dry time.
6. Let Your Door Air Dry
After wiping your door down, it’s time to let the breeze do its work. It usually takes around 24 hours for stain and varnish to dry. In humid climates or living spaces, that time could be longer. That said, you might want to consider staining a door a three-day project because once the door is dry, you’ll want to turn it over and stain the other side. Once both sides are stained, it’s time to let it wipe it down and let it air dry again.
If you want a deeper, richer look to the stain, apply multiple coats. But be sure to allow a coat of stain to completely dry before you apply another coat.
7. Rehang Your Stained Door
Reassemble the door by reattaching any hinges, knobs, locks, handles, and weather stripping. Of course, this process will be a little different if you have a sliding door. This can be a great time to select some new
door hardware like handles or redo the weather stripping on the door.
Rehinging the door can seem tricky. You’ll just need to hold the door and tip it until the knuckles of its hinges are engaged with the knuckles on the doorframe. Push a pin into whichever set of knuckles lines up first, and then put another pin in the remaining two or three hinges. Usually, this will be easier if you close the door. If you’re having trouble lining up the knuckles, just use something like a crowbar once more underneath the door to help lever it into place.
How to Stain a Door
Whether you’ve just bought a factory-made door or you want to improve the look of a weathered door that’s already part of your home, staining is an easier-than-expected DIY project that can really give the said door some extra striking depth. You just need a clean and open working space, a few days, and some simple items you can get from the hardware store.
In most cases, the process of staining and rehanging your door will not be too difficult. If your door is brand new, it might either be a pre-hung door (which comes with a frame) or a
slab door. If it’s a slab door, you will have a few extra steps to take in order to hang in on the frame or sliding track. However, all
types of doors can truly benefit from a facelift and it’s a whole lot easier than you might think to unhinge it, stain it, varnish it, and rehang it. With this experience under your belt, you can start considering other things to stain, such as cabinets or an old coffee table.
Once your door is varnished, you’ll be able to enjoy the enhanced look of your home, whether your newly stained wood door is the front door or an interior door. You’ll be able to enjoy your stain and varnish handiwork for up to one or two decades if it’s oil-based, and around three years if it’s water-based. Gel stain and shellac-based stain may last significantly shorter amounts of time. Either way, you will want to prolong the life of your stain and continually enhance its glowing look by keeping the door clean and polishing it with wax or polish every six weeks.