


1. Confirm that you have a bi-parting system
This guide covers a bi-parting hardware system, sometimes called a converging pair. Both doors operate in the same plane and move away from the center. A bypass system has separate paths that let doors pass one another; use the bypass installation guide for that arrangement.
Unpack the track, hangers, spacers, stops, guides, retention parts and fasteners. Match them to your order and the model’s installation instructions. Soft-close units, track splices and special mounting systems may have additional parts and a different assembly sequence.
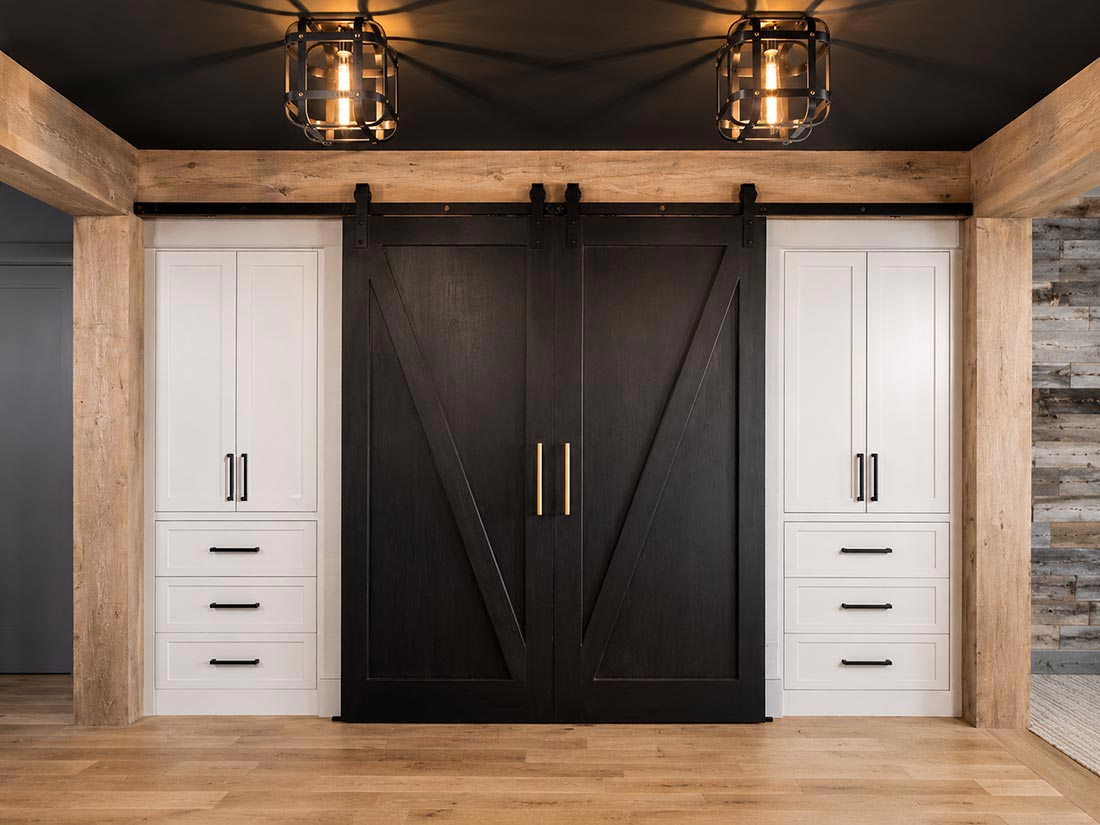
2. Draw the closed position and the parking positions
Mark the opening’s centerline. Measure its finished width and height, the casing projections and the clear wall on both sides. Then mark each leaf’s intended closed edge and fully open edge. The available track must accommodate the hangers and stops at both limits; a nominal track length alone does not establish usable travel.
For equal leaves, divide the required closed coverage between them while accounting for the meeting detail specified for the pair. Include coverage beyond the outer jambs. Do not size each leaf to half the opening and assume there will be enough side overlap.
Check furniture, outlets, switches and the full projection of the handles. Keep the center meeting detail symmetrical unless the opening is intentionally designed for unequal leaves.
3. Establish the floor reference and track height
Check the floor over the entire travel of both doors, including their parking areas. Locate the high point and use the hardware instructions to establish bottom clearance there. At lower areas, make sure the guide will still engage the door.
Calculate track height from the actual leaf height, the selected hanger geometry and the required bottom gap. Also allow room above the track to install the wheel and retention components. There is no universal five- or eight-inch overhead allowance for every hanger.
Transfer the resulting mounting line with a level. A sloping floor does not justify a sloping track; an unlevel track can make a door drift.
4. Provide the specified structural support
Locate and verify the framing. Plan attachment for the weight of both completed leaves and the forces of operation. If the track holes do not align with suitable framing, use a properly designed support header or another approved attachment detail.
A decorative board fastened only to drywall does not provide the same support as a header anchored into framing. Do not choose a one-by-four merely because an older generic tutorial names it. Header size, screw type, embedment and spacing depend on the system and the wall.
Resolve hidden utilities and unusual wall construction before drilling. Lay out the mounting holes from the actual track or template rather than assuming a standard spacing.
5. Assemble the track, spacers and stops
Install the specified spacer arrangement so both leaves clear the casing and remain in the intended plane. Keep the track level as you install its mounting hardware. If supplied in sections, align the running surfaces and use the compatible splice or joining detail.
Set the outer stops to limit opening travel and the center stops to establish the meeting position. Rustica’s standard bi-parting flat-track manual shows two center stops. Those stops prevent the leaves from relying on a collision with each other to end their travel.
Follow the stop attachment shown for your system; some are part of a mounting-fastener assembly. Do not assume every stop simply grips the track by friction or belongs exactly one inch from its end. Install soft-close components in the sequence their instructions require.
Reference: Rustica: standard bi-parting flat-track manual.
6. Attach the hangers and prepare the door bottoms
Lay each door on padded supports. Identify its top, bottom, room-facing side and meeting edge. Use the hanger template and the specified fasteners; face-mounted and top-mounted hangers need different preparation.
If the supplied guide runs in a bottom groove, confirm that groove before hanging. Its width, depth and location must suit the actual guide. Do not route a glass, metal or unknown composite leaf as though it were a solid wood blank.
Prepare handles while the door is supported if that suits their instructions. Keep their fasteners and projections clear of the wall, the second leaf and the stopping hardware.
7. Hang both leaves and complete their guidance
Use sufficient help or suitable lifting equipment for the completed door weight. Follow the system’s method of placing the hangers on the track; not every enclosed or specialty track uses a lift-on wheel.
Keep each leaf controlled while installing its guide and retention parts. Plumb the door, then position the guide so it remains engaged throughout the permitted travel. In the standard bi-parting arrangement, each door needs its own guidance near its outer jamb.
Install the specified anti-jump components. Rustica’s bi-parting manual places blocks on top of each door, beneath the track, at both sides of each leaf. A side bracket from another arrangement is not automatically an interchangeable substitute.
8. Set the meeting detail and verify the full travel
With all required components installed, move one leaf slowly to its closed position, then bring the other toward it. Adjust the approved stops or soft-close settings to produce the intended meeting gap and alignment. The handles must remain usable without trapping fingers at the meeting edges.
Open each leaf to its outer stop. Check guide engagement, wheel seating, wall clearance and access through the opening. Repeat with both doors moving through their normal range. They should stop where intended without striking furniture, pulling against a guide or contacting one another.
Recheck the fasteners and component positions according to the manual. If a door drifts, rubs or lifts unexpectedly, correct the alignment or attachment before normal use. A smoothly rolling door is only one part of a completed installation.
Updated .



