1.800.891.8312
Free Shipping Details
Most orders over $500 qualify. Free shipping applies to Barn Door Hardware, Barn Doors, and Pocket Doors over $500.
Note: Front doors, interior doors, shower doors, slab doors, any oversized door (wider than 3ft or taller than 7ft), and any special order doors have shipping costs calculated at checkout. Some barn door hardware track lengths do not qualify for free shipping.



How to Measure for a Barn Door
Sunday, September 20th, 2026
Author: Kate Allen - Rustica Founder and CEO
Share
Example: 36-inch opening + 2-inch overlap on each side = 40-inch panel. A track around twice the panel width is a planning starting point. The kit instructions control final dimensions.
How to Measure for a Barn Door
DIY barn door projects are super popular right now and (even better) they’re easier to install than you think! But before you start comparing which style of door you want or deciding on a railing system you like, you’ll need to take a step back and do some math.How to Measure for a Barn Door
- Barn Door Opening Measurements
- Subtracting Trim
- Adding Trim
- Make Allowance for Door Hardware
- Know Your Clearance
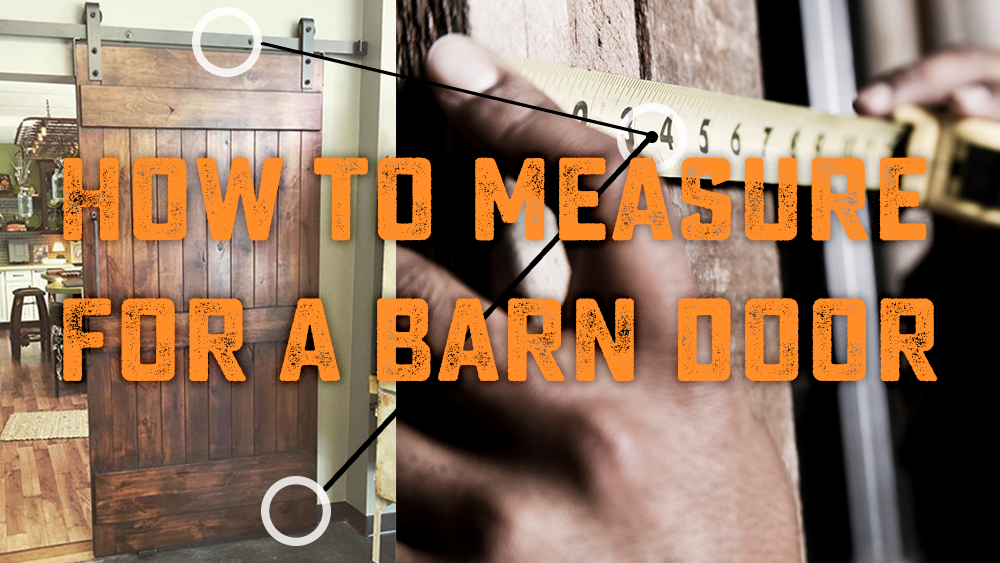
That’s right, you’re going to need to know exactly how much door space your working with: that includes the width and length of the door entry… and the distance between the top of the door and the ceiling. After all, the last thing you want is a railing system that’s too big because you just guesstimated the size.
How To Measure For a Sliding Barn Door & Track?
To help you get started, here’s a quick summary of measurements you’ll need to take before installing your door and track.1. Barn Door Opening Measurements
While the style of barn door you choose will come down to your personal preference, you will need to be aware of barn door vs opening dimensions when making your choice. Size the panel using the coverage and floor-clearance requirements for the selected system. Rustica’s Before You Begin guide uses 2 inches of overlap on each side for an opening without molding. The determining factor in how high or how wide you want to go is just how much you want your sliding door to overlap with the opening.Quick rule of thumb: If your sliding door is in a room where you may want some extra privacy (like a bathroom or guest room), you’ll want to create even more of an overlap to prevent noise leakage and peripheral gaps.
2. Subtracting Trim
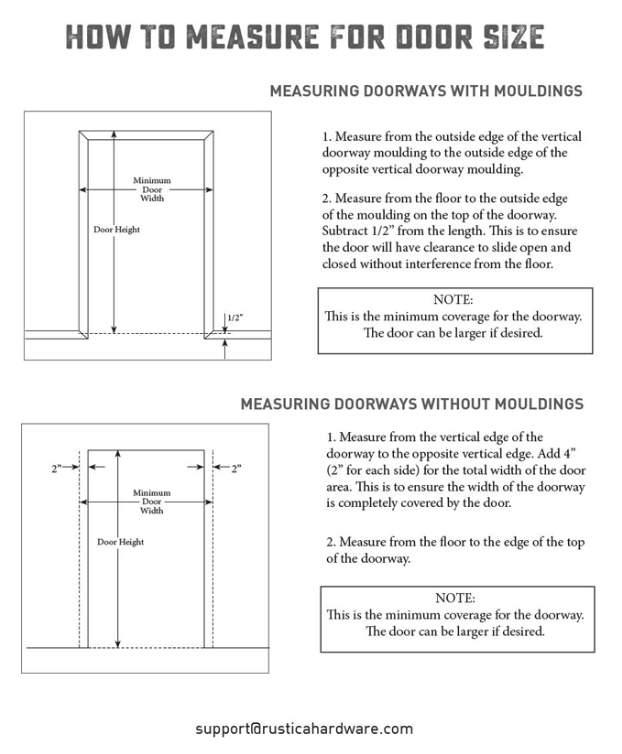
Your next step is to calculate the width of the door’s opening, starting from inside the door jamb on one side, all the way to the inside edge of the other. Repeat this step to find the height, measuring from the edge of the door header all the way down to the top of your flooring. You don’t want to measure past the flooring, otherwise your door won’t slide shut smoothly.Once you calculate those dimensions, plus whatever amount for overlap you want, you’ve got the dimensions you need for your door opening.
3. Adding Trim
This step is similar to the way you would measure (above) your door without trim. However, instead of measuring from inside edge to inside edge, you’ll want to add the trim dimensions to both the length and the width of your door measurements, plus your desired amount for privacy overlap.4. Make Allowances For Door Hardware
Once you’ve recorded the measurements for your door opening, you’re ready to measure for your barn door hardware. For many single-panel systems, track planning starts at about twice the panel width, not merely twice the opening width. Verify the final length against the kit’s stops, mounting points, and soft-close requirements.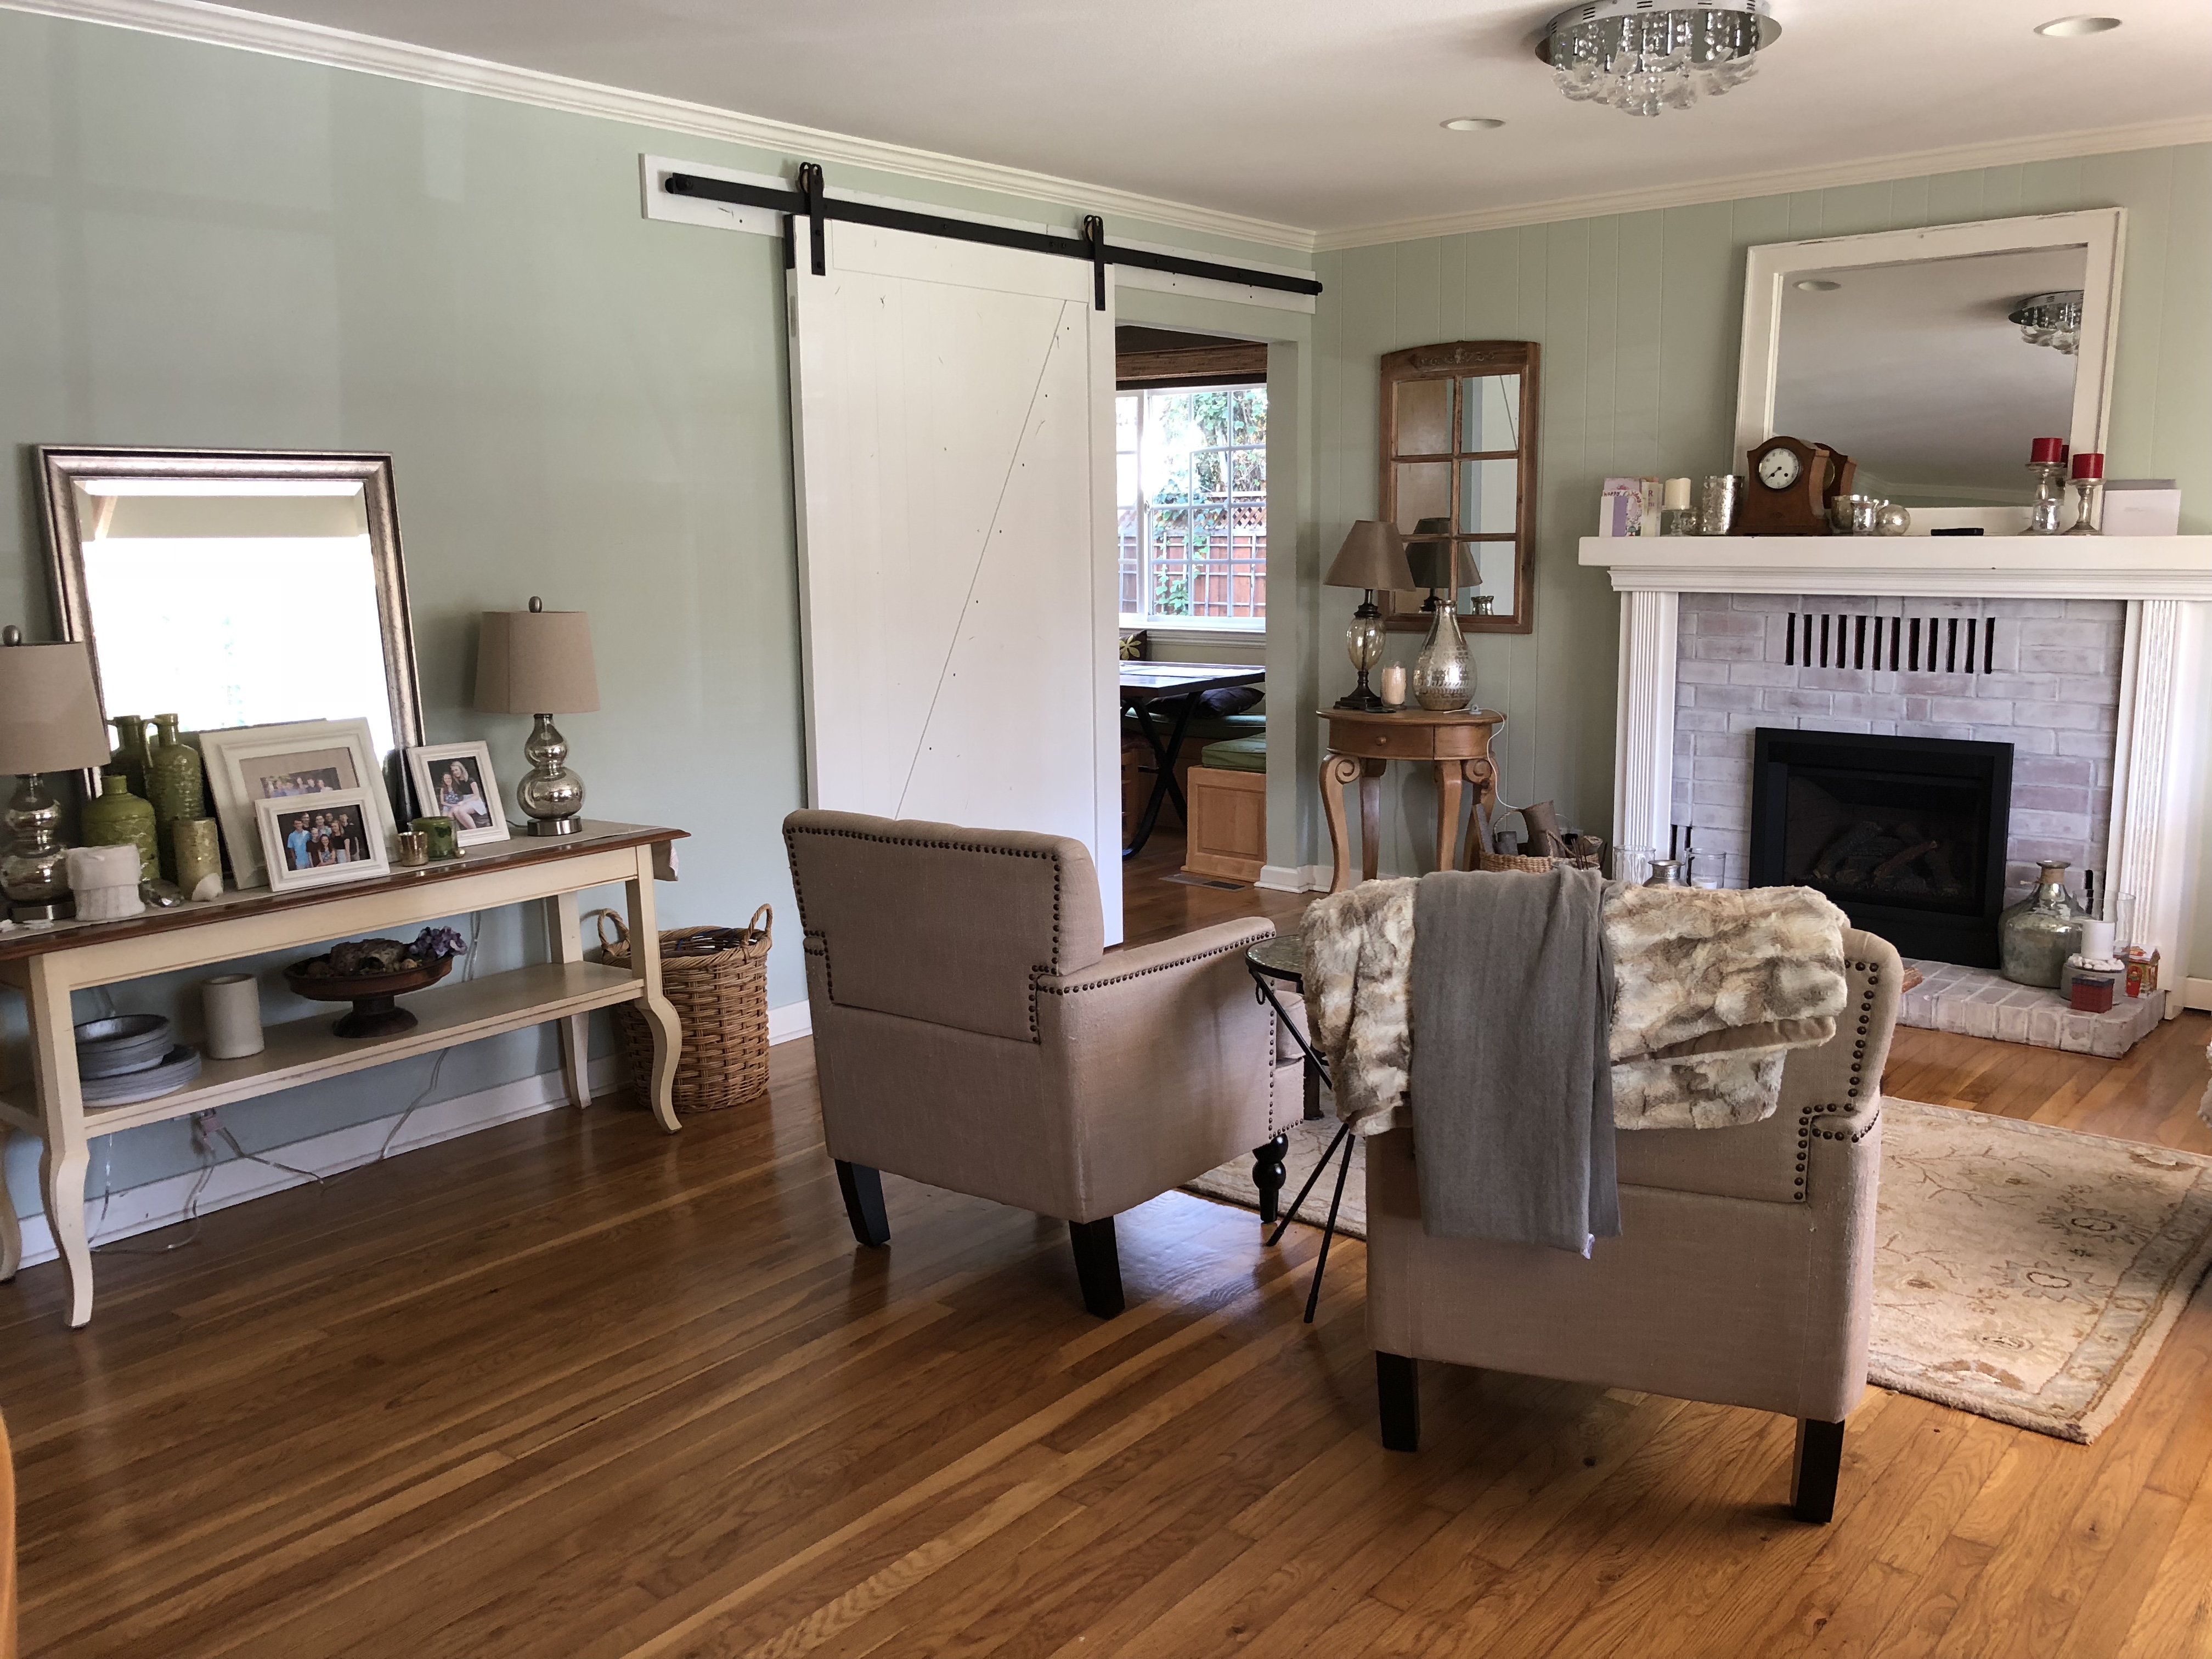
5. Know Your Clearance
If the ceiling or soffit limits the space above the opening, compare low-clearance barn door hardware options. Use the selected system drawing to confirm both overhead clearance and room to install the door.
Finally, measure the distance from the top of the door frame or entrance to the ceiling. This is a vital step for successfully measuring for a barn door track because you’ll be a bit more limited if you’re installing your door on an entryway that has low ceilings. Knowing this clearance measurement will help you find a railing system that is sure to fit that space without a hiccup.Note:Depending on how you plan to install your door (particularly if you’re hanging it by yourself), you may also want to consider measuring the distance between the studs on the wall where you want to hang your door. Some companies will pre-drill your metal railing system to fit these stud measurements to save you a step from having to do it yourself.
Frequently Asked Questions About Measuring for a Sliding Barn Door
It’s normal for homeowners, designers, and DIYers alike to have questions when researching how to measure for a sliding barn door. The below topics address the most common concerns, teaching you what you need to know in order to assemble your hardware kit and begin your DIY barn door installation. It’s also helpful to review our Parts of a Door article to gain a better understanding of the necessary vocabulary for measuring and installing a barn door track.How much bigger should a barn door be than the opening?
Since barns doors are sold in different dimensions, there is no one correct answer for the difference in measurements between a sliding barn door and its door opening. However, there is a general rule! Use the overlap required for your system and privacy needs. For example, Rustica’s guide for an opening without molding uses 2 inches on each side: a 36-inch opening would need a 40-inch panel under that approach.If you plan on installing a sliding door in an entryway for a bathroom, bedroom, or office area, you may want to increase your door width by another inch or two on either side. A wider door allows less light and sound to filter through the doorway and creates more privacy between rooms.
A pocket door is an exception to this rule as the panel does not rest on top of wall space. Instead, it slides into a space in the wall, mostly disappearing when open. For this reason, pocket doors are generally around the same size as the door opening, similar to hinged doors. Still, homeowners should keep in mind that they need to have viable wall space (the size of the panel) in which to create the pocket hole for the door.
For height, measure the area to be covered from the highest finished-floor point. Account for top coverage and subtract the floor clearance specified for the hardware; do not automatically add an inch. You may consider adding more if you want to create a dramatic statement with your door or if you want more privacy. Just be cautious and take into consideration the necessary measurements for your door track.
For a standard track system, you’ll want to leave at least six inches above your door opening, which means five inches above your door panel if you’ve chosen to add a total of one inch. There are low clearance options that only require four inches above the frame (three above the standard panel) or ceiling mount barn door hardware, which eliminates the worry of header space and allows homeowners to purchase larger-than-usual sliding panels. Any of these options can be included in your hardware kit.
You will most likely be able to find the measurement that works best for your space and design goals, especially when you purchase a custom barn door from Rustica.
How thick and wide is the barn door hardware track?
There is also a rule of thumb when choosing the width of your barn door track. In order to ensure that your door completely clears the doorway when open, you’ll want to purchase a metal track that is at least double the width of your door. If you want to slide your single panel door in both directions, you’ll want to triple your panel’s width when choosing the track’s dimensions. Bi-parting and bypass systems use different track layouts; follow the drawing for the exact panel arrangement.Track profile, spacer length, and supported door thickness are separate specifications. Check all three in the selected hardware drawing.
If you’ve purchased a thicker door for privacy or security reasons, or if you have trim (also known as casing) or a baseboard that interferes with the slide of your panel when using a standard track, you’ll want to purchase spacers. A spacer increases the space between the track and the wall to accommodate for a greater thickness. Rustica’s spacers are adjustable and can be purchased in sizes between 1 ¼ and 2 ⅕ inches. Our heavy-duty spacers are between 2 ¾ and 3 ¾. These will accommodate a larger door thickness.
Can you hang a barn door without a header?
It is possible to hang a door without a wood header, though it isn’t an ideal choice. Headers are important because they distribute the pull of the door’s weight across more wall beams. Without a header, your door will rely on the strength of just a few. If you purchase a larger door or a door made from heavier material, you won’t have the option of not using a header.You’ll need to use a stud finder to locate your beams and then install a header that is three inches wider than your rough opening. Then, you’ll attach your track system to the header using carriage bolts. If you’ve chosen a lighter panel option or if you don’t have space for a header, you can purchase low clearance barn door hardware, but you’ll still need to locate your wall stud (or studs) when mounting the track.
A helpful tip for this step is to always make a pre-drilled hole in the wall and/or header for your screw so that you can line up your track to the beams or your header to the beams without error. Still, if you do make a mistake in your header or beam, making an accidental or incorrect hole, you can always use wood filler to cover up cosmetics or repair small structural damage.
How far does a barn door stick out from the wall?
With a standard track system, a barn door will stick out 1 ¾ inch. However, sometimes this isn’t enough. This is where spacers are helpful in allowing the door to stick out up to 3 ¾ inches to accommodate for baseboard and trim thickness.Once you figure out the thickness you’ll need, you can go ahead and add a floor guide, also known as a door guide if desired, and consider the type of lock options that will work for your door type and size.
Order a Rustica Barn Door Hardware Kit Today!
In addition to including the ideal track system, homeowners can add beautiful, artisan-crafted barn door panels to their barn door kits, making installation even simpler.You won’t need to worry about a table saw or miter saw, instead you’ll only need a trusty tape measure to gather your dimensions and tell us exactly what your door and track design requires.
Now that you know exactly how to measure for a barn door rail, it’s time to get to work on assembling a Rustica barn door hardware kit!
A worked width and height example
| Measurement | Example calculation | Result |
|---|---|---|
| Panel width | 36-inch opening + 2 inches left + 2 inches right | 40 inches |
| Panel height | 80-inch coverage height + 1-inch top overlap − ½-inch floor clearance | 80½ inches |
| Track length | About 2 × 40-inch panel, subject to kit requirements | About 80 inches |
For Rustica’s starting measurements with and without molding, use Before You Begin. Then check the selected hardware drawing for mounting height, stand-off, stops, and soft-close allowance.
How far does a barn door stick out from the wall? There is no single distance. Door thickness, track spacers, trim and handle projection all contribute. Check the hardware section drawing and measure the furthest obstruction along the entire travel path.
Updated · Original guide refreshed with comparison details and practical checks.




PRODUCTS
FEATURES
COMPANY
BUSINESS