


Start with the symptom
Move the door slowly and note exactly where the problem occurs. Does the bottom swing out, does one spot scrape, or does the whole leaf roll by itself? Those observations help distinguish a guide problem from an uneven track, insufficient clearance or damaged hardware.
| Symptom | Inspect first |
|---|---|
| Bottom swings toward or away from the wall | Missing, loose, damaged or disengaged guide. |
| Door binds at one point | Debris, a tight guide, local floor change or contact with trim. |
| Door rolls when released | Track level and the complete mounting arrangement. |
| Door rubs along much of its travel | Panel plumb, spacer arrangement, guide alignment and wall clearance. |
| Door rocks, hanger moves or attachment looks loose | Stop using it and have the load-bearing components assessed. |
Match the guide to the door construction
Groove-engaging guides fit a prepared slot or approved channel at the bottom of the leaf. The slot needs the specified width, depth and position; do not route an unfamiliar hollow, glass or metal door as though it were a solid wood panel.
U-shaped or roller guides control the door along its faces or edges, depending on the model. Check the thickness range and protective contact surfaces. A guide suitable for a wood panel is not automatically suitable for exposed glass.
Either type may have floor- or wall-mounted versions. The mounting location and the way it contacts the door are separate choices.
Check engagement at both travel limits
With the door controlled and supported as required, inspect the guide at the closed position, mid-travel and fully open position. It must remain engaged as specified throughout that range. Stops should prevent the leaf from moving beyond the system’s intended travel.
Rustica’s Low Clearance instructions illustrate positioning a groove-engaging guide with the door hanging plumb. Use the instructions for your actual system for the final dimensions and fasteners; do not copy a measurement from a different guide.
Choose an attachment that suits the building
A floor guide needs sound support beneath the finish surface. Carpet, tile or a floating floor alone does not identify the correct fastener or installation method. Check for underfloor heating, pipes, wiring and other restrictions before drilling.
Where floor attachment is unsuitable, consider an approved wall-mounted guide with the required backing and baseboard clearance. Do not omit guidance simply to avoid a floor penetration.
Adjust without using the guide to force the door straight
Remove loose debris with the method allowed for the hardware. If adjustment is needed, follow the model instructions and support the leaf before loosening any load-bearing connection. Keep the door plumb and give moving surfaces the specified clearance.
A tight guide should not be used to bend a misaligned panel into position. Nor should a floor guide be raised to carry weight that belongs on the top system. Resolve the mounting or panel issue first.
Verify the complete system after the repair
Check the track attachments, hangers, rollers, guides, stops and specified anti-jump or retention components. Move the door through its travel slowly, then confirm that it stays controlled during ordinary use.
If wear returns, a fastener will not hold or the door remains difficult to move, photograph the hardware and contact the installer with the system name. The Rustica instructions library is the starting point for identifying the correct procedure.
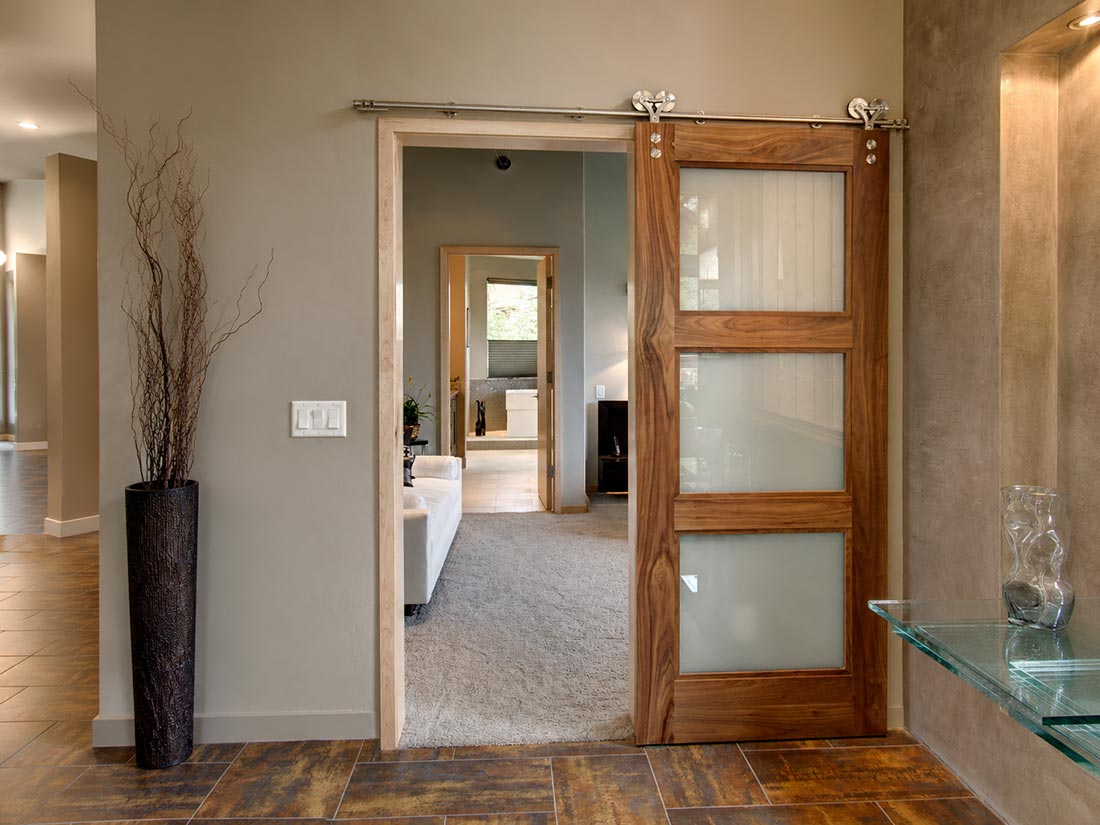
Installed sliding-door example
Updated .



