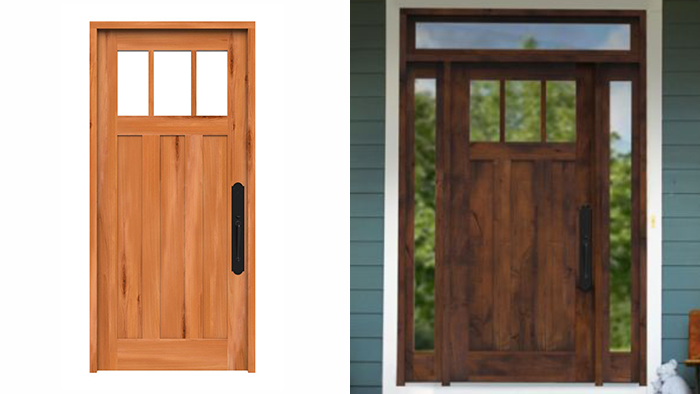
How to Install a Front Door
- Measure Your Existing Entry Door
- Remove Your Storm Door (If Needed)
- Remove Your Doorbell
- Remove Your Existing Door Frame and Hardware
- Make Sure Your New Door Is Level and Plumb
- Install a Sill Pan
- Set the New Door
- Install the Hardware and Door Frame
- Reinstall Your Doorbell
- Add Your Final Touches