

Modern Flush Door Installation Instructions
The Modern Flush is one of the iconic Barn Doors that is timeless, and will make almost any space better. Download Instructions PDF for the Modern Flush Door are also available.
Modern Flush Door Instructions & Video
Modern Flush Recommended Tools
- Pencil
- Tape Measure
- Chisel
- Hammer
- Rubber Mallet
- Phillips Screw Driver
Modern Flush Parts
- Phillips Screws
- Door Pull
Modern Flush Door Pull Specs

Note: The center point of the door pull should be three feet above the bottom edge of the door. Avoid placing the door pull too close to the edge of the door. Placing the pull too close to the edge can damage both door and pull.
1. Using a measuring tape and pencil, mark the desired location for the door pull. The normal height for a pull is 36” from the bottom of the door (Figure 1).

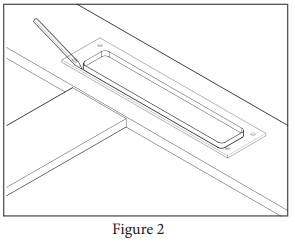
2. Once the pull is in the desired position, trace around the exterior inset surface with a pencil (Figure 2).
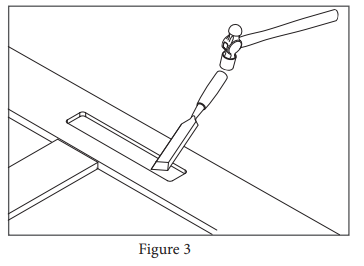
3. Using a hammer and chisel, forstner bit, or router, remove the wood inside the tracing on the door. Be aware of the depth as you work; the depth should be no more than 3/8” (Figure 3).
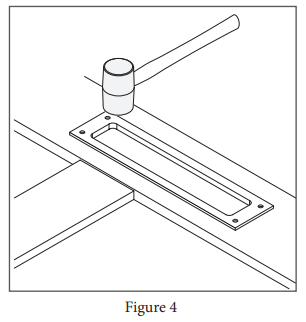
4. Using a rubber mallet, gently tap the door pull into the chiseled area for a test fit, correcting depth and shape as needed. The pull should fit snuggly and the lip of the pull should rest evenly on the door surface (Figure 4).
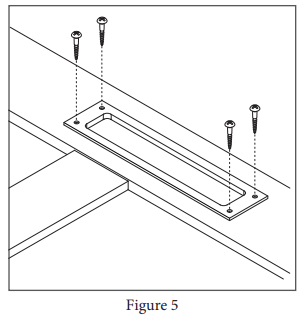
5. Attach the pull to the door using a phillips screw driver and the provided screws (Figure 5).


Hitching Post
Event Venue
1520 N Main Street
Springville UT 84663

PRODUCTS
FEATURES
COMPANY
BUSINESS