


Choose a coating system for the actual surface
Tell the paint supplier whether the wood is bare, stained, clear-coated or already painted, and whether the door is indoors or outdoors. Identify the existing finish where possible. Ask about adhesion, stain blocking, sheen and compatibility between primer and topcoat.
Estimate quantity from the area of both faces and edges, the stated coverage and the required number of coats. One gallon is not a universal requirement. Make a sample on matching wood or a suitable test area to judge the color and adhesion before committing.
Remove and organize the hardware
Photograph the hangers, spacers and safety components before disassembly. Support the door and get enough help for its weight. Follow the hardware instructions when removing stops, retention devices or the leaf; never leave an unsupported panel balancing on one hanger.
Label fasteners and remove pulls and other removable fittings. Mask components that must stay in place. Set the door on a stable finishing support that gives access to the edges without marking a fresh face.
Clean, repair and prepare
Remove grease and dirt with a cleaner approved for the surface and coating system. Remove residue as directed and let the wood dry. Fill suitable defects with a compatible filler, then prepare the surface to the paint manufacturer’s sanding instructions. Remove dust thoroughly.
Do not automatically strip a sound existing finish. Its condition and compatibility determine the preparation. Before sanding or scraping older paint, establish whether lead-safe procedures are needed; see the EPA guidance below for older homes and salvaged painted materials.
Prime where the system calls for it
Bare wood, knots, tannin staining and difficult existing finishes may need different primers. “Paint and primer” on a label does not establish that a product will block a particular stain or bond to every old coating. Apply the chosen primer as directed and check the dry surface before proceeding.
Treat the top, bottom and side edges according to the door maker’s finishing instructions. Keep hardware mounting surfaces, guide channels and clearances functional; paint buildup can change how a guide or fitting moves.
Paint the details before the broad areas
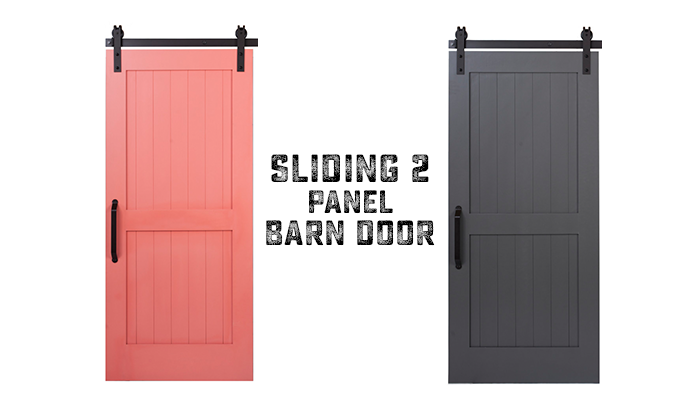
On a paneled door, work paint into the profiles without leaving puddles in corners, then coat the larger areas. Follow the grain and keep a wet edge where the coating instructions call for it. Use a suitable brush or roller; spray equipment requires appropriate masking, ventilation and technique.
Apply the specified coats rather than one excessively heavy coat. Inspect for sags and pooling while correction is still possible. Allow the stated recoat time, adjusted for the permitted temperature and humidity conditions.
Let the coating cure before hard use
Dry to the touch, ready to recoat and fully cured are different stages. Follow the coating’s technical data for handling and service, and avoid clamping hardware onto a finish that is still soft. Do not add wax or varnish unless it is part of an approved system.
Reinstall the hardware using its installation instructions, including the guide, stops and retention devices. Test slowly for rubbing and confirm that the pull is secure. Save the paint code and remaining labeled coating for future touch-ups.
Reference: Benjamin Moore: door preparation and painting practices.
Reference: EPA: lead-safe renovation guidance.
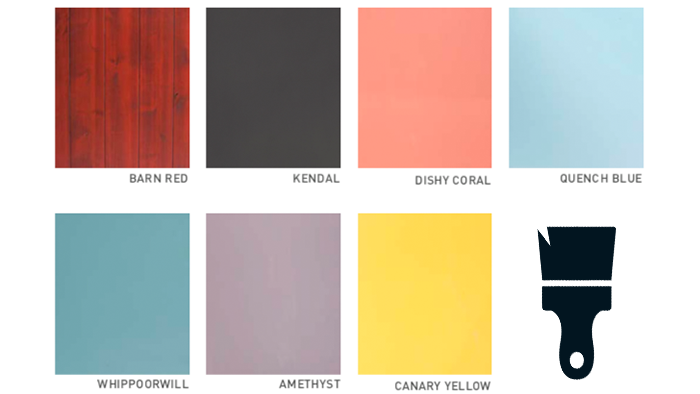
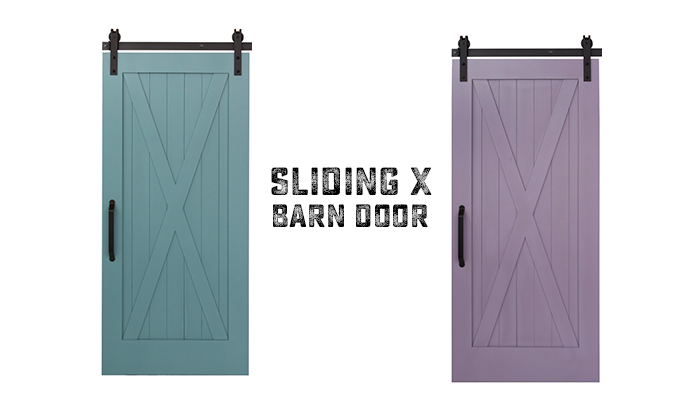
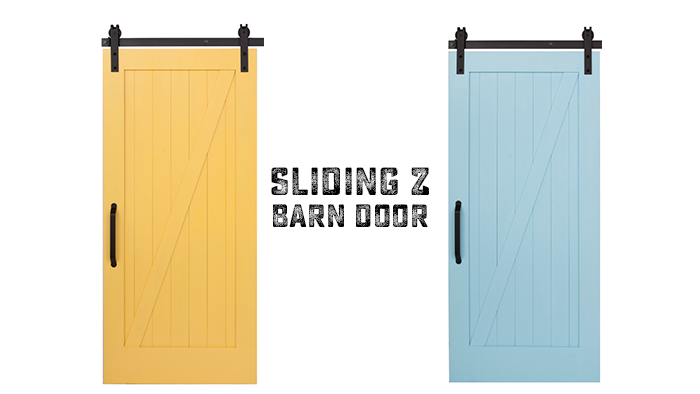
Color and door-profile examples

Updated .



