1.800.891.8312
800-891-8312
FREE SHIPPING*
Free Shipping Details
Most orders over $500 qualify. Free shipping applies to Barn Door Hardware, Barn Doors, and Pocket Doors over $500.
Note: Front doors, interior doors, shower doors, slab doors, any oversized door (wider than 3ft or taller than 7ft), and any special order doors have shipping costs calculated at checkout. Some barn door hardware track lengths do not qualify for free shipping.


How to Install Shiplap–A Simple Guide
Monday, July 15th, 2019
Author: Kate Allen - Rustica Founder and CEO
Share
Smooth Sailing
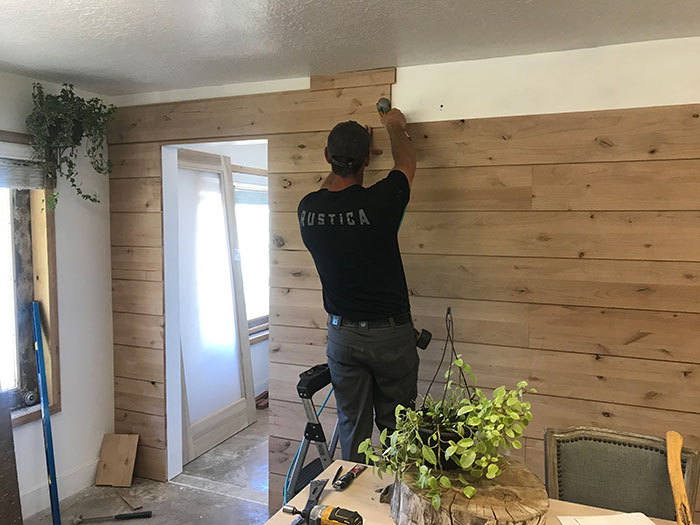
One of the best ways to add intrigue to a room that is otherwise devoid of character and charm is to select one "blah" wall and nominate it for some smooth sailing with shiplap wall planking. It is a very simple process and not one of those projects that seems to drag on. Unlike drywall, as soon as you put shiplap planking up on the wall, it's done and stunningly so. Follow these easy steps to get your room from "blah" to "smooth sailing".Step 1
Determine the square footage of your wall by measuring the height from floor to ceiling. Once you have this measurement, multiply the height by the width to get your square footage for ordering the right amount of ship lap material. Go to https://rustica.com/accent-walls/ to see a selection of shiplap as well as other stunning wall coverings such as reclaimed barnwood for accent walls and three different sizes of solid wood shiplap. You will need to determine the width of planks you would like and this is all up to your preference but if you want my opinion, go with 8".Step 2
Once you have received your shiplap material, you will need to gather the tools below and make sure to use a magnet or stud finder to mark a vertical line along every stud to insure you fasten the ship lap securely to the framing.Tools needed to install shiplap:
- Air Compressor
- 18 Gauge Nail Gun
- Miter Saw
- Table Saw (you may need this to get the last row at the top to fit just right with your ceiling)
- Caulk Gun (this is optional for running a bead of construction adhesive along the back of the shiplap before nailing onto the studs for extra strength as well as for a bead of caulk along the top edge of the top row to fill any inconsistent gaps between the ceiling and the top shiplap row)
Step 3
Install the first row starting at the bottom. It's a good idea to consistently work each row left to right or right to left. Also, if you are installing directly to exposed framing studs then you will want to line out the joint pattern that you would like to have as this will be a visual component of the finished product. Make sure to stagger joints from row to row at least two rows apart. In other words, do not install a 48" long plank of shiplap to the bottom left followed up by a another 48" plank on the second row right above the first. This will line up joints and not tie the planks together well. If you are installing over existing drywall then the same principal is true.Step 4
When you have completed your top and final row of shiplap planking, then you may decide to run a bead of caulk at the ceiling and floor joints. If not, then dust off your hands make sure everyone can hear you yell; "That's a wrap!".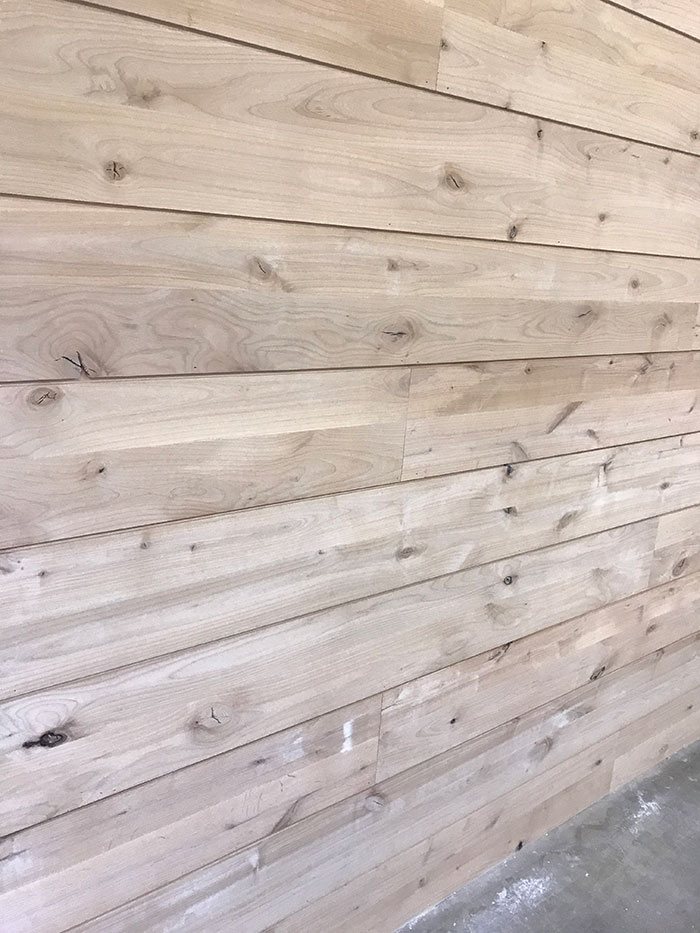


Rustica Shop & HQ 1060 Spring Creek PlaceSpringville Utah 84663Customer Service & Sales(800)-891-8312


PRODUCTS
FEATURES
COMPANY
BUSINESS