1.800.891.8312
800-891-8312
FREE SHIPPING*
Free Shipping Details
Most orders over $500 qualify. Free shipping applies to Barn Door Hardware, Barn Doors, and Pocket Doors over $500.
Note: Front doors, interior doors, shower doors, any oversized door (wider than 3ft and taller than 7ft) and any special order doors have shipping costs calculated at checkout. Some barn door hardware track lengths do not qualify for free shipping.

How to Install Barn Door Hardware
Thursday, November 1st, 2018
Author: Kate Allen - Rustica Founder and CEO
Share
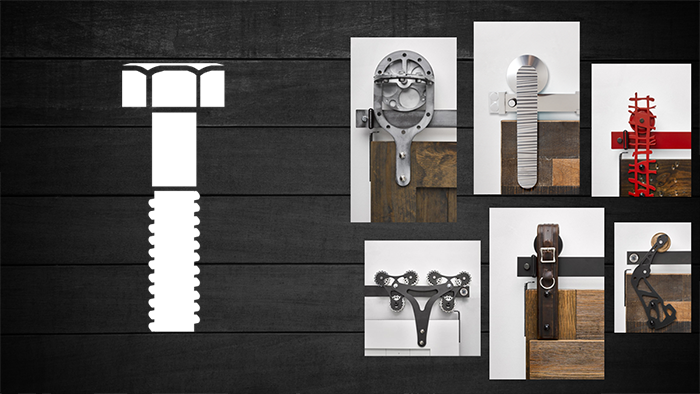
Slide into these six simple steps
The only thing between you and a newly-installed, jaw-dropping sliding barn door are six short steps. That’s right, this easier-than-you-think DIY project list is all you need to install that sliding door you’ve coveted for so long – infusing your home with a blend of country charm and contemporary class.
All you have to do is follow these easy steps and you’ll be admiring your handy work before you know it – and so will your guests -- for years to come!
Step 1: Select your barn door hardware
Before you actually start installing your barn door hardware or dreaming of your favorite finishes and styles, you need to measure the doorway, as well as the clearance above the door. If you have low ceilings, you might have to consider hardware that’s between 6-8” from door to ceiling to allow for enough clearance for the wheel to move uninhibited. However, if you’ve got higher vaulted ceilings, you may be able to go for a bigger, grander piece of hardware if you’ve got a 9” allowance or greater for clearance.Step 2: Find your hardware finish
When you’re selecting a metal finish, consider choosing something to match any other metal accents in your room. With so many barn door hardware finishes to choose from, that shouldn’t be much of an issue. And if you’re feeling a little more playful, there are even vibrant finishes to add pops of color to your room for a more fun, lively look.

Step 3: Know your railing dimensions
When you’re measuring the width of your doorway, the rule of thumb calls for a railing that’s at least twice the width of your door. So if your door is 3 feet wide, you should aim for at least 6 feet of railing. However, extra caution might call for 6.5 feet just to give yourself a little failsafe space. Remember, you can position the stops anywhere along the length of the door, so don’t feel like too long is too long. Get it? Got it? Good.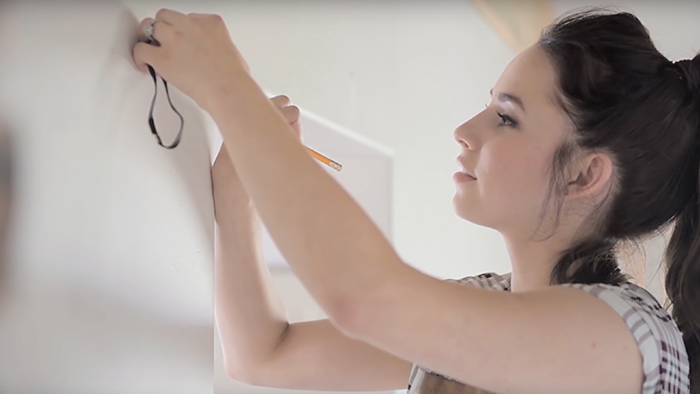
Step 4: Installing your sliding barn door hardware
When you’re ready for installation, there are two main factors: the wheels and the wall rail. Getting the proper measurement is paramount to ensure everything slides correctly.Let’s start with the barn door hardware because it’s a bit easier to work with. Begin by placing the strap on the front of the door, wheel side facing the back. Use a square to make sure everything is aligned and mark the drill holes. It’s important to note here that your railing and strap must support the heft of your door. In most cases there won’t be an issue, but it’s good to keep in mind just in case you’ve got a heavy door or a lighter railing system.
Once you’ve got the drill holes marked, go ahead and drill for real. If you get some tear-out from the holes, no biggie, the strap will cover any blemishes. Next, insert the provided screws and tighten the washers and nuts with a wrench before moving onto the next step of installing a sliding barn door track.
Step 5: Mount the wall railing system
Measure the distance between each stud on your wall and mark them accordingly with a pencil. Then, grab a scrap 2x4 to clamp the railing down and drill 3/8” holes at the appropriate marks. Once you see sawdust in the metal filings, you’ll know you’ve made it all the way through the metal railing.Now you’re ready to move on to the actual wall mounting step on our hardware installation checklist. Start by drilling ¼” pilot holes into the studs where you will attach the railing system. Your railing kit should come equipped with oversized screws for securing the hardware kit into the stud holes. You can use a socket wrench to tighten.
Step 6: Hang your door
Once the railing system is up, all you have to do now is hang the door. For this final step, please remember that you should add door stops at each end of the track so that your door doesn’t go flying off the track the first time you slide it shut!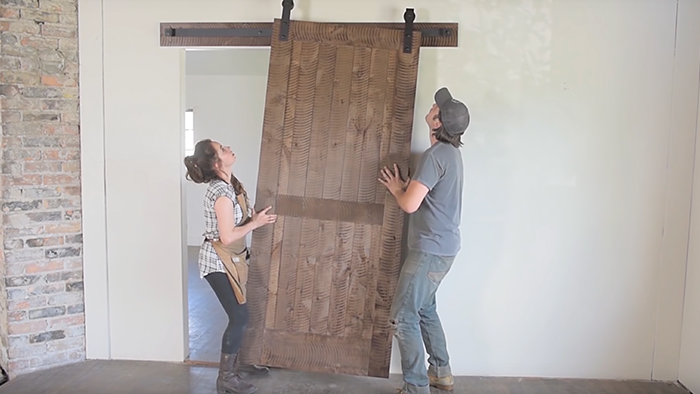
And there you have it! Six easy steps on how to install barn door track systems and you’ve now got a fully functional – and beautiful – sliding door. It not only looks good by adding a unique sense of rustic style to any room you choose, but its space-saving versatility is something you’ll quickly fall in love with, too.
#Rustica


Rustica Shop & HQ 1060 Spring Creek PlaceSpringville Utah 84663Customer Service & Sales(800)-891-8312

Hitching Post
Event Venue
1520 N Main Street
Springville UT 84663
PRODUCTS
FEATURES
COMPANY
BUSINESS


