


1. Confirm that the door can accept a recess
Identify the door construction and the solid material at the proposed location. A thin skin over a hollow core will not support the same pocket as a solid wood stile. Glass, metal, rated doors and unfamiliar engineered constructions need an approved preparation method; this wood-cutting procedure is not transferable to them.
Check door thickness against pocket depth, screw length and any hardware on the opposite face. Two recessed pulls directly opposite each other may leave too little material between them. Also locate nearby joinery and glass before choosing the position.
2. Mark the location with the door in its working position
Choose a comfortable grasp location and check that it stays reachable when the door is open and closed. Confirm clearance from the jamb, wall, trim and the other leaf on a bypass system. Use the finished floor as the reference when comparing handle heights elsewhere in the room.
The Rustic Flush Pull instructions recommend a center 36 inches above the door’s bottom edge and a recess no deeper than 3/8 inch. Those dimensions belong to that pull; verify the current instructions for your model. Keep the cut far enough from the door edge to preserve sound material.
3. Make and test the layout
Trace the inset portion that enters the wood, not simply the outer lip. Use the supplied template if available, confirming its scale when printed. Mark the door face, leading edge and top so the layout cannot be reversed accidentally.
Support and clamp the door securely on a protected work surface. Gather the specified cutting tool, depth control, sharp chisel, measuring tools and appropriate eye, hearing and dust protection. Test the complete setup in suitable scrap with the actual pull.
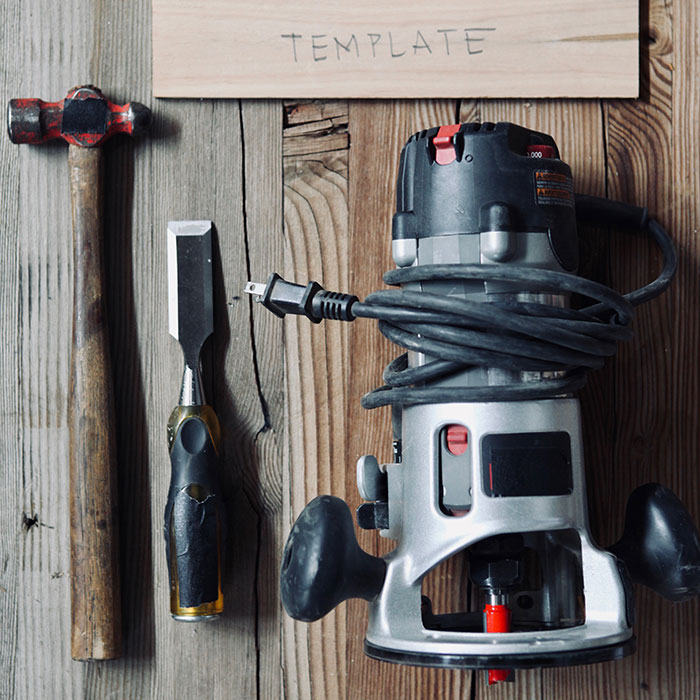

4. Cut the pocket using a controlled method
Router method: use a stable template and the correct bit or guide arrangement. A guide bushing generally needs an offset between the template opening and the cut; a bearing-guided bit works differently. Prove the resulting size on scrap. Make controlled passes within the router and bit instructions, stopping short of final depth for a trial fit.
Forstner-bit and chisel method: use a reliable depth stop to remove most of the waste inside the outline, then pare the sides and floor with a sharp chisel. Account for the bit’s center point, which can extend below the flat-bottomed portion of the cut. Do not let that point puncture the remaining wood.
Keep the work clamped and hands out of the cutting path. Stop the tool before clearing chips or adjusting the setup. If you cannot hold a consistent depth or keep the template secure, have the recess machined by an experienced installer.
5. Test-fit before fastening
Clear the chips and seat the pull without forcing it. The lip should rest evenly against the face without rocking. Remove small amounts only where the pocket interferes; a deeper hole will not correct a recess that is too narrow.
Use the specified fasteners and any required pilot holes. Check screw length again before driving them, and tighten without distorting the pull or stripping the wood. Touch up exposed wood as directed by the door’s finish instructions.


6. Check the full travel
After reinstalling the door with all specified guides, stops and retention components, move it slowly through its complete travel. Grasp the pull from both sides and confirm that your hand and the hardware clear surrounding surfaces. If a recess is unsuitable, compare a compatible barn-door handle or surface-mounted option before modifying the door.
Updated .



