1.800.891.8312
Free Shipping Details
Most orders over $500 qualify. Free shipping applies to Barn Door Hardware, Barn Doors, and Pocket Doors over $500.
Note: Front doors, interior doors, shower doors, slab doors, any oversized door (wider than 3ft or taller than 7ft), and any special order doors have shipping costs calculated at checkout. Some barn door hardware track lengths do not qualify for free shipping.



How to Finish and Seal a Front Entry Door
Tuesday, August 25th, 2026
Author: Kate Allen - Rustica Founder and CEO
Share
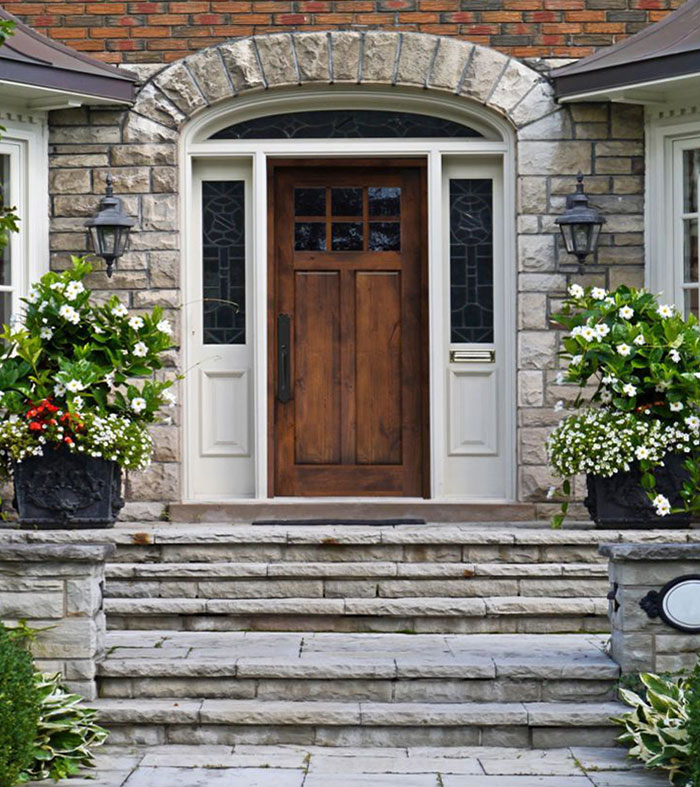
Sealing the Deal
There is nothing quite like a real, solid wood front entry door. There is something that we consider as deep and meaningful about the relationship that has existed since the beginning of time between mankind and the tree. Forever a resource that has provided shelter, heated humankind, and served as a tool for the advancement of the human race. Through it all, the tree has offered a natural character and soul and all the while offers an undeniable function, while shining through with beauty and art.The Composition of Real Wood
So, how do you care for a solid wood front entry door? It’s all about the seal. Wood is a porous surface and the fibers in wood are designed to absorb and release moisture. This is not a good thing to have happening once the tree has been milled into lumber. As moisture releases and is absorbed into the wood, the grain acts like joints and moves as outer fibers absorb moisture and inner fibers remain the same. Swelling occurs and sends a shockwave as it were through the wood until the air from the outside dries behind the wave of moisture and reverses the swelling and contracting action. This is actually a really cool trait in wood. However, when talking front entry doors, you want to have a good seal all the way around the door slab against your stop and weatherstripping. This is what will keep your home climate controlled.Steps to Properly Seal a Door
Sealing your door is easy. There are a few options of what type of product to use to seal the wood as well as a few options for what type of applicator to use. Here are some simple steps to follow to seal the deal with your solid wood front entry door:1. Prep
You need to make certain that you do not wait very long to seal your door. This is actually a simple thing, but can cause some of the greatest issues. The longer your door remains unfinished, the higher the chance it will have to absorb moisture or to dry out. Either is equally bad. Temperature and humidity will dramatically effect the door when unfinished. So if you have the door staged in the garage in the middle of summer when it gets really hot during the day and then cools off at night, there is a high risk of the door warping, bowing, checking, cracking, etc. So, it is best to have a climate controlled area to store the door while you are waiting to finish it. You will want to make sure to "finish sand" (which means you have sanded the door down nice and evenly) the entire door with the grit and preparation sequence recommended by the door and coating manufacturers. You need to look very closely at the wood grain to insure that there are no swirling marks from a heavier grit sand paper or linear marks from a belt sander. These will stand out a lot more once you apply a stain and or a clear coat. Once you’ve sanded it then blow it off with compressed air or wipe with a clean rag. If you leave any saw dust, it will contaminate the product you apply and cause a rough finish.2. Color
You may choose to apply a color with a stain before you apply a final clear coat over the door. Apply the stain by its specified method and use protective equipment compatible with that product. The stain will penetrate deep into the fibers of the wood and give it a preliminary seal. Make sure to wipe any excess stain off with a clean rag and take care to apply evenly throughout the entire surface of the door including the door edges, bottom and top of the door. End grains found at the top and bottom edges of the door are the most critical areas as that grain acts like a straw for moisture. Make sure to let the stain have adequate dry time before re-applying or applying any other product.3. Clear
To properly seal in the stain that you have applied, you will need to apply a clear coat. For an exterior wood door, select a complete exterior coating system compatible with the wood, stain and exposure. Apply it using the method and film thickness specified on the label. Professional two-part spray products require the appropriate equipment and exposure controls; they are not a universal DIY recommendation.4. Scuff
After the specified drying period, sand between coats only if the coating instructions require it, using the recommended abrasive. Remove sanding residue before recoating. Do not use a generic 15–30 minute sanding interval.5. Final Seal
Once you have scuffed the entire door, it should feel very smooth to the touch. Now wipe the door down with a clean rag as it will have a chalky dust from the scuffing process. Apply additional coats at the specified coverage and interval. Allow the product’s full cure before heavy use. Inspect the coating over time and maintain it for the exposure; no finish has a universal service life in harsh weather.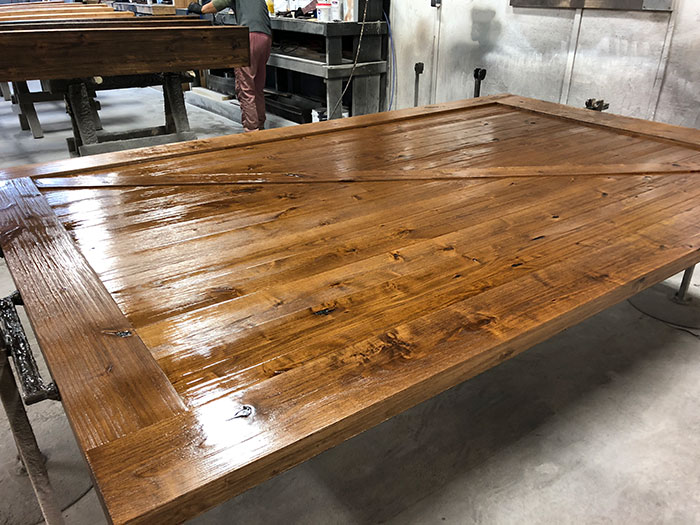
A Visual Guide to Your Options
| Task | What to inspect | What determines the method |
|---|---|---|
| Finish the wood | Front, back, side edges, top and bottom | Door construction and coating instructions |
| Seal air gaps | Weatherstrip compression and bottom seal | Jamb, sweep and threshold design |
| Control water | Exposure, overhang, sill and drainage | Door assembly and installation details |
| Maintain the finish | Checking, fading, peeling and worn edges | Condition and exposure, not a fixed universal interval |
Before you open the can
- Identify the door material and existing finish; this guide concerns wood, not a universal coating method for metal or fiberglass.
- Check compatibility of the proposed stain and topcoat on a sample or inconspicuous area.
- Choose an application method you can use with the required ventilation and protective equipment. Two-part sprayed coatings may require professional equipment.
- Plan secure support for the door while coating edges and allow the specified cure before reinstalling hardware.
Questions, answered
Is stain enough to seal an exterior wood door?
Not necessarily. Many stains supply color but need a compatible protective topcoat. Use a complete exterior finish system approved for the door; do not assume every stain, clear coat and primer can be combined.
How long should door finish dry before sanding or rehanging?
Use the coating label’s schedule for your temperature, humidity and application method. Dry-to-touch, time between coats and full cure are different. A generic 15-minute or 24-hour rule does not fit every product.
Should I finish the top and bottom of the door?
Protect all surfaces required by the manufacturer, including top and bottom end grain and freshly cut areas. Keep finish out of hardware and drainage components unless the product instructions say otherwise.
Sources & further reading
- Simpson wood-door care principles; follow your own door’s requirements
- Rustica unfinished-product terms and care responsibilities
Updated · Original guide refreshed with comparison details and practical checks.




PRODUCTS
FEATURES
COMPANY
BUSINESS