1.800.891.8312
Free Shipping Details
Most orders over $500 qualify. Free shipping applies to Barn Door Hardware, Barn Doors, and Pocket Doors over $500.
Note: Front doors, interior doors, shower doors, slab doors, any oversized door (wider than 3ft or taller than 7ft), and any special order doors have shipping costs calculated at checkout. Some barn door hardware track lengths do not qualify for free shipping.



Converting a Hinged Door to a Sliding Door
Saturday, August 8th, 2026
Author: Kate Allen - Rustica Founder and CEO
Share
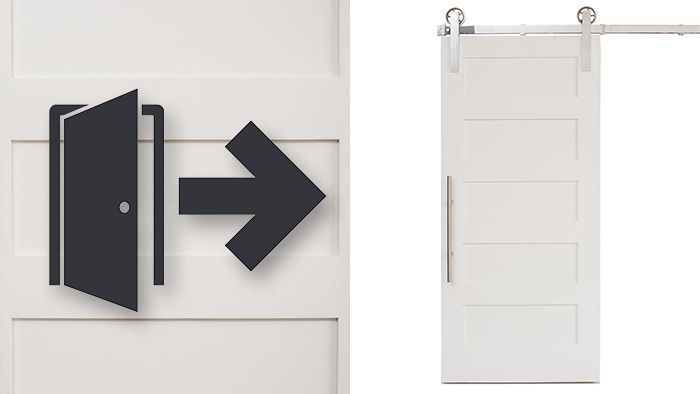
Go from swing to sling in a few easy steps
Taking the initial plunge into a DIY sliding barn door project may seem like a big dive, but we’re here to show you how easy it can be to convert your hinged doors into sliding doors in five easy steps.
Sliding barn doors are the perfect way to spruce up your home’s sense of style, whether you’re going for a modern minimalist look or classic design. And beyond their timeless good looks, they’re not just all fashion – they offer space-saving functionality, as well.
So, if you’re asking yourself how to make a regular door into a sliding door, look no further.
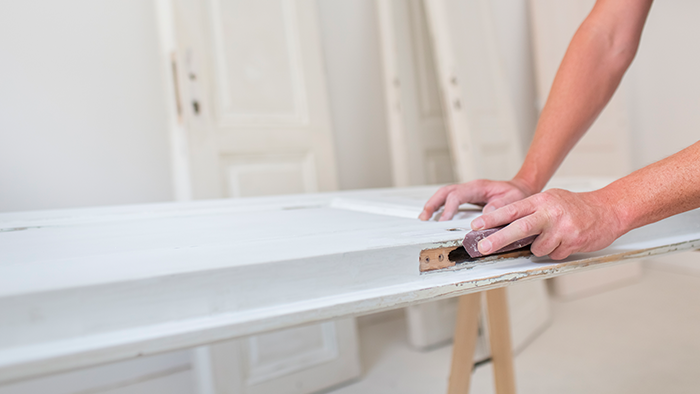
Step 1: Remove the trim
To get this hinged barn door DIY project party started, first check whether the existing trim clears the planned sliding panel and hardware. Remove trim only if the installation requires it. However, don’t just toss the trim when you’re done as it may be something you can use for a future DIY project.Once you’ve taken the trim off, you’ll want to cut away any old caulk on the door frame/wall and remove the casing nails that secured the door jamb to the wall.
Step 2: Measure the top and install the railing system
Check panel coverage with the barn door size guide. When track fasteners need backing, use the barn door header guide to distinguish the surface mounting board from the structural header inside the wall.
Next, measure the opening and slab, then use the hardware manufacturer’s formula for track mounting height and floor clearance. For many single-panel systems, planning starts with a track around twice the panel width; stops, soft-close hardware and the specific kit determine the final length. If you don’t have the room, check out our tutorial on how to install a bypass barn door and hardware.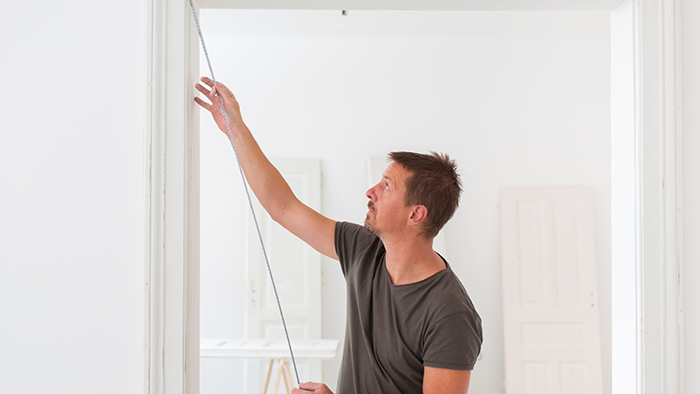
When installing the railing system, you must make sure that it’s level across the top. Once it’s level, locate the studs above the door opening and install the headboard. Now you can screw in the railing system for a nice and secure hold.
Step 3: Trim any added door length
When converting your hinged door to a barn door, you may or may not need to adjust the length of the door to ensure that it slides smoothly on the railing (and ground track) without scraping across the floor. Do not cut the slab unless its manufacturer allows it. Hollow-core doors have limited trim allowances, and glass or rated doors require their own specifications.Step 4: Install door hardware
Once the railing is up and the door is cut to form (if need be), the next step is to screw in the door rollers and brackets to the upper end of the door according to the hardware kit’s specific install instructions.Then, attach the bottom door guides/track so that the door doesn’t wildly sway to and fro when being slid open and closed. Again, make sure that you check for level alignment.
Step 5: Check to ensure it’s level
You’ve measured, you’ve cut, you’ve leveled, you’ve screwed and you’ve hung. You’re probably thinking, what’s left to do to convert my hinged doors to sliding doors? The last step is to double check that it’s all level, plumb and ready for use. If everything checks out then your old single hinged door has now been successfully converted into a sliding barn door.
The only thing left to do is pat yourself on the back for a DIY project well done and enjoy the fresh style you’ve brought to your home. Read Rustica Hardware’s blog for more DIY tips!
A Visual Guide to Your Options
| Check | What to confirm |
|---|---|
| Coverage | The slab covers the opening and planned side overlap |
| Wall travel | The open panel clears trim, furniture, switches and outlets |
| Slab and hardware | Weight, thickness, core and hanger attachment are compatible |
| Track support | Fasteners connect to suitable structural framing or a secured header |
| Complete kit | Floor guide, stops and anti-jump components are included as required |
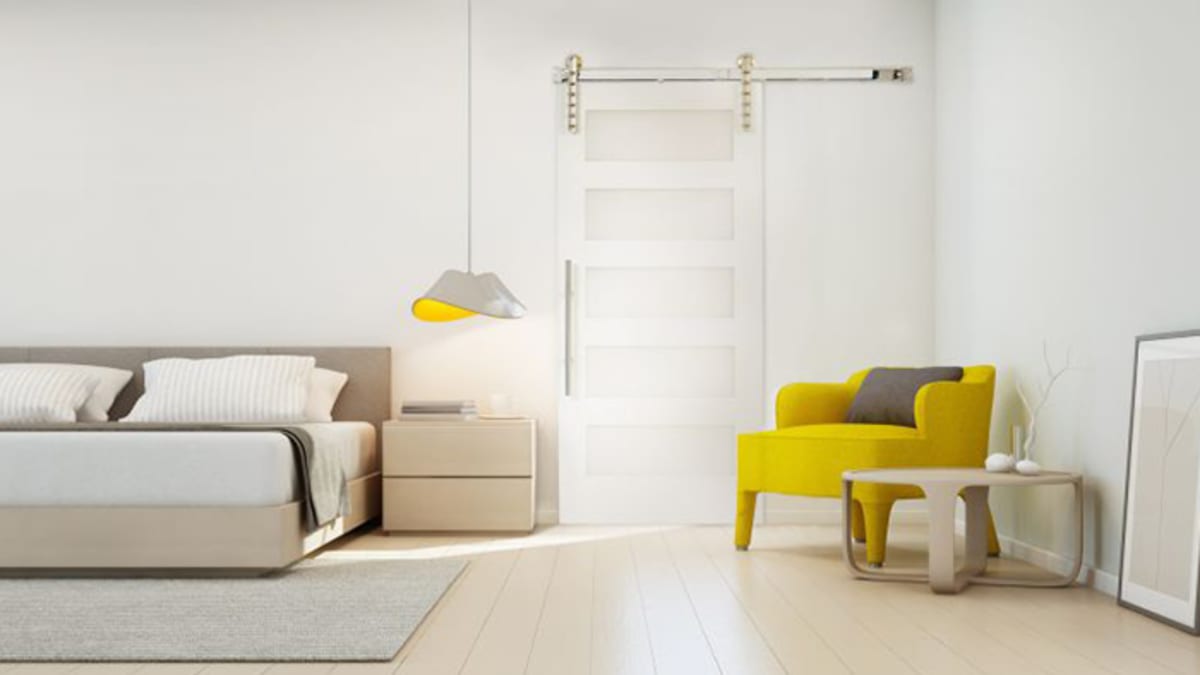
Before ordering, follow the barn door measurement guide and the instructions for your hardware system.
Updated · Original guide refreshed with comparison details and practical checks.




PRODUCTS
FEATURES
COMPANY
BUSINESS